You pull them out of the oven and your entire kitchen smells like a warm hug.
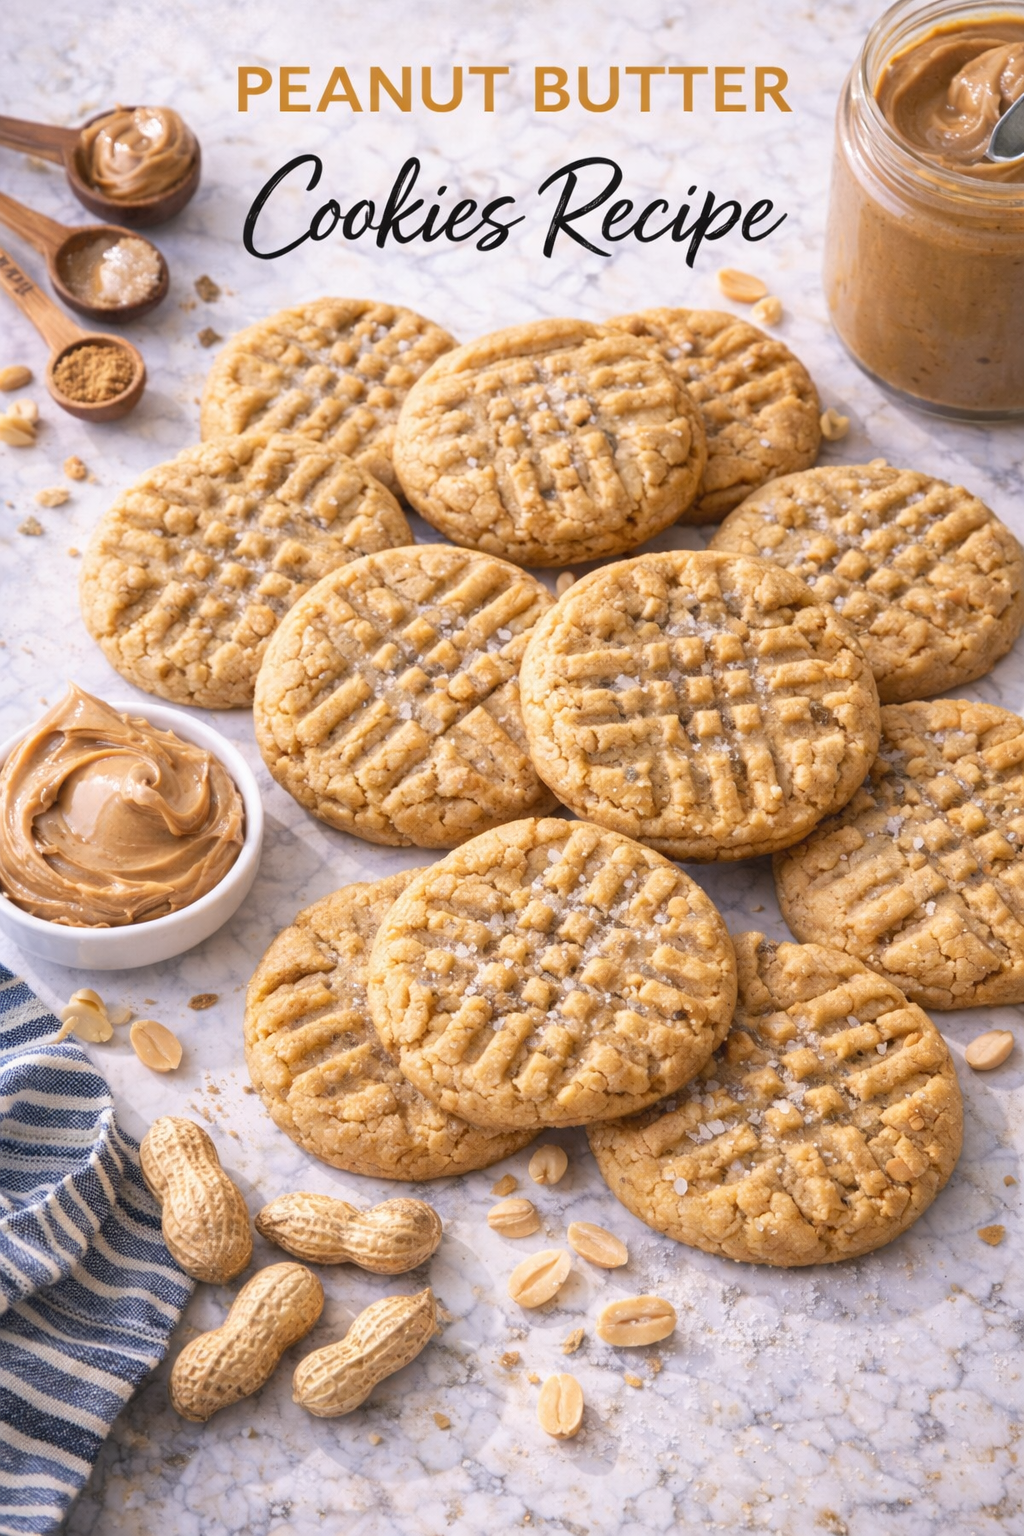
These peanut butter cookies are dangerously simple to make. We’re talking one bowl, no mixer, and barely 30 minutes from start to finish.
And the kicker? They have no flour. None. Not even a little.
So if you’ve been avoiding cookie recipes because they feel like a whole production, this one’s going to change how you think about homemade cookies entirely.
What You’ll Need
Here’s the full ingredient list. No weird pantry staples, no grocery store treasure hunt.
For the cookies (makes ~24):
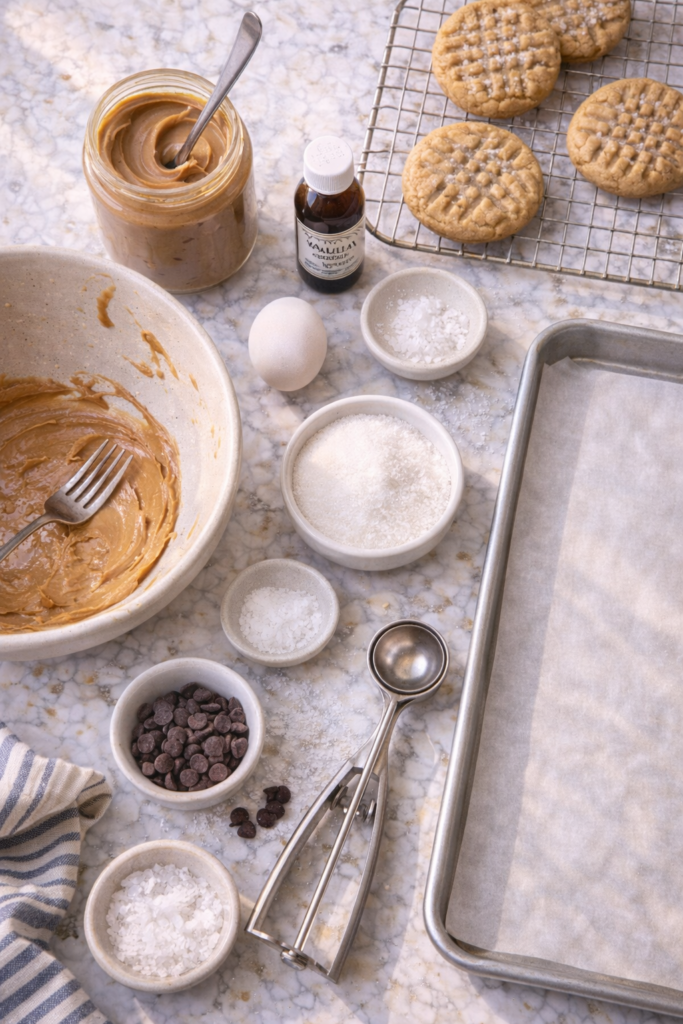
- 1 cup (250g) creamy peanut butter (natural or regular, both work)
- 1 cup (200g) granulated white sugar
- 1 large egg, room temperature
- 1 tsp pure vanilla extract
- 1/2 tsp baking soda
- 1/4 tsp fine sea salt (skip if your peanut butter is already salted)
Optional but highly recommended:
- Flaky sea salt for topping (Maldon is my go-to)
- 1/2 cup chocolate chips or chopped dark chocolate mixed in
Tools You’ll Need
- Large mixing bowl
- Fork (for mixing and that signature crosshatch press)
- Cookie scoop or regular tablespoon
- Baking sheet (two if you want to do back-to-back batches)
- Parchment paper
- Wire cooling rack
That’s it. No stand mixer. No hand mixer. Honestly, this recipe is almost unfairly easy.
Pro Tips
These are the things I wish someone had told me before I made my first batch.
- Don’t overbake them. Pull them out when they look slightly underdone. They’ll look too soft, almost raw, but they firm up as they cool. If they’re golden and set in the oven, you’ve gone too far. 🍪
- Room temperature egg matters more than you’d think. A cold egg straight from the fridge doesn’t incorporate as smoothly and can mess with the texture. Leave it out for 20 minutes before you start.
- Natural peanut butter works but requires a stir. The separated oil at the top of natural peanut butter jars needs to be fully mixed back in or your cookies will be dry and crumbly. Stir it really well first.
- Salt is not optional. Even if your peanut butter is already salted, a pinch of extra sea salt in the dough and a little flaky salt on top takes these from good to wow. Sweet + salty is a combination that hits every single time.
- Don’t flatten them too thin. When you press the crosshatch pattern with the fork, be gentle. You want them about 1/2 inch thick, not paper thin. Thick cookies = chewy centers.
Substitutions and Variations
A few ways to switch things up:
| Swap | What to Use |
|---|---|
| Granulated sugar | Brown sugar (chewier, more molasses flavor) or coconut sugar |
| Regular peanut butter | Almond butter, sunflower seed butter, or cashew butter |
| Plain cookies | Fold in chocolate chips, chopped Reese’s pieces, or dried cranberries |
| Vanilla extract | Almond extract (use half the amount, it’s strong) |
| Classic shape | Roll in cinnamon sugar before baking for a snickerdoodle vibe |
For different diets:
- Vegan: Swap the egg for a flax egg (1 tbsp ground flax + 3 tbsp water, rested for 5 minutes)
- Lower sugar: Use a 1:1 granulated monk fruit sweetener
- Nut allergy: Sunflower seed butter works really well here, though the cookies may turn slightly green due to a natural chemical reaction with baking soda. Totally safe to eat, just a little surprising the first time 😅
Make Ahead Tips
These cookies are genuinely great to prep in advance.
Dough: Roll the dough into balls, place on a parchment-lined tray, and freeze until solid. Transfer to a zip-lock bag. Bake from frozen, just add 2-3 extra minutes.
Baked cookies: Cool completely before stacking or storing. They freeze well for up to 2 months. Just pull one out and let it come to room temperature, or pop it in the microwave for 10-15 seconds.

How to Make Peanut Butter Cookies
Step 1: Preheat and prep
Heat your oven to 350°F (175°C). Line your baking sheet with parchment paper.
Step 2: Mix the dough
In your large bowl, combine the peanut butter, sugar, egg, vanilla extract, baking soda, and salt.
Mix with a fork until everything is fully incorporated and a thick dough forms. It’ll come together quickly. Don’t overmix.
Step 3: Scoop and roll
Using a cookie scoop or tablespoon, scoop out ~1 tablespoon of dough per cookie.
Roll each scoop into a ball between your palms, then place on the baking sheet about 2 inches apart.
Step 4: Press the crosshatch
Use a fork to gently press down on each dough ball twice, rotating 90 degrees between presses to create that classic crosshatch grid pattern.
This isn’t just for looks. It helps the thick dough bake more evenly.
Step 5: Add toppings (optional)
If you’re using flaky sea salt, sprinkle a tiny pinch on each cookie now, before they go in.
Step 6: Bake
Bake for 10-11 minutes. They should look barely set in the center and lightly golden on the edges.
Remove from the oven and let them sit on the baking sheet for 5 full minutes before transferring to a wire rack. This step is where the magic happens. They’ll look underdone, but they’re not.
Nutritional Info
Per cookie (based on 24 cookies, no chocolate chips):
| Nutrient | Amount |
|---|---|
| Calories | ~115 kcal |
| Fat | 7g |
| Carbohydrates | 11g |
| Protein | 3g |
| Sugar | 9g |
| Fiber | 0.5g |
Naturally gluten-free. No flour, no gluten. Just check your peanut butter label to confirm no cross-contamination if you’re baking for someone with celiac.
Meal pairing ideas:
- Serve warm with a cold glass of milk (classic for a reason)
- Crumble over vanilla ice cream
- Sandwich two together with Nutella or chocolate ganache in the middle
- Pack in lunchboxes alongside fresh fruit
Leftovers and Storage
Room temperature: Store in an airtight container for up to 5 days. They actually get slightly chewier on day two, which is a great thing.
Refrigerator: Not necessary, but if your kitchen runs warm, refrigerating extends freshness to about 7-8 days.
Freezer: Stack cooled cookies with parchment paper between each layer in a freezer-safe bag or container. Lasts up to 2 months.
Reviving stale cookies: 10 seconds in the microwave and they taste fresh-baked again. A little trick that feels almost too good to be true.
FAQ
Can I use crunchy peanut butter instead of creamy?
Yes. The texture is slightly different (you’ll get bits of peanut throughout), but they’re just as delicious. A lot of people actually prefer them this way.
My dough is too crumbly. What happened?
This usually means the peanut butter was too dry or the oil hadn’t been stirred back in. Add a teaspoon of neutral oil (like avocado or vegetable oil) and mix again. That usually fixes it.
Can I double the recipe?
Absolutely. Just mix in a larger bowl and bake in batches. The dough also keeps in the fridge for up to 3 days if you want to bake fresh cookies over several days.
Why are my cookies spreading too much?
This can happen if the dough was too warm. Pop it in the fridge for 15-20 minutes before baking. Also, make sure your baking sheet is cool between batches.
Do I really need the baking soda?
It helps them puff slightly and gives a little lift. Without it, they’ll be denser and flatter. You can technically skip it, but the texture is noticeably better with it.
Can I add cocoa powder?
Yes. Add 2 tablespoons of unsweetened cocoa powder to the dough for a chocolate-peanut butter version. Reduce the sugar slightly to balance the bitterness.
Wrapping Up
Four ingredients. One bowl. No fancy equipment.
That’s really all it takes to make cookies that people will ask for on repeat.
These peanut butter cookies are the kind of recipe you memorize after one batch because they’re just that simple. And once you’ve made them, store-bought cookies are going to feel like a downgrade.
Give them a shot this week, and then drop a comment below. Tell me how they turned out, what variation you tried, or any questions you ran into along the way. I read every single one. 👇