You’re scrolling through Instagram at 8 PM on a Friday. Your best friend’s birthday is tomorrow. You have zero plans and definitely no time to order something from that fancy bakery across town.
You could grab a box mix.
Or you could make something better in less time than it takes to watch a sitcom.
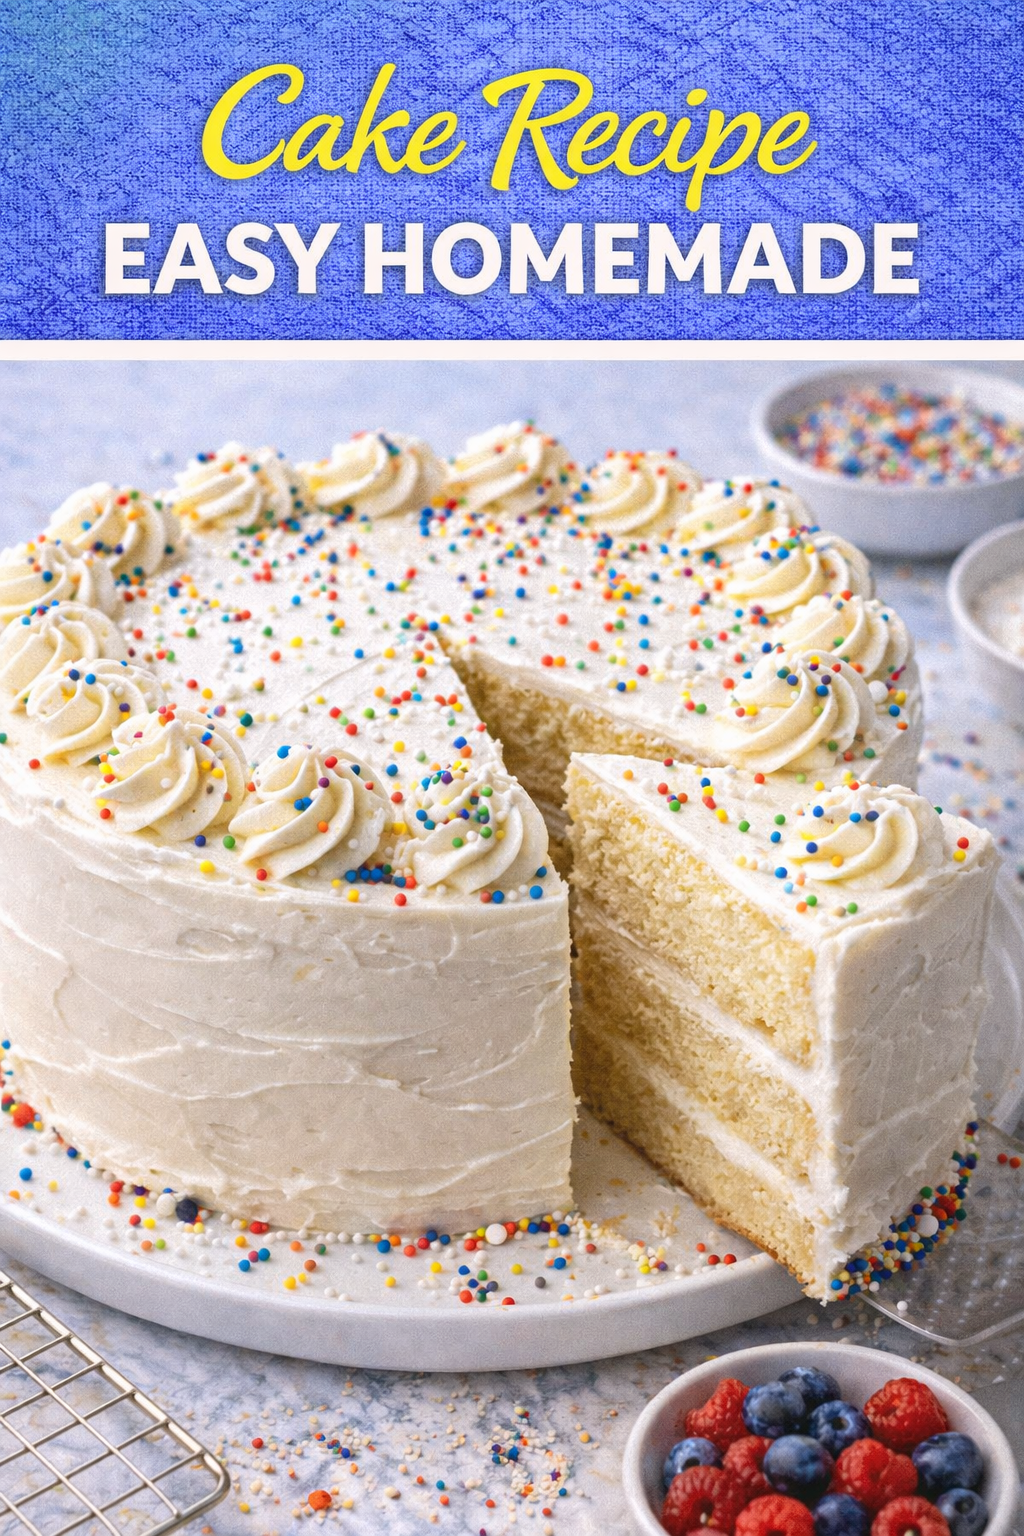
This is the cake that changes things. It’s moist, tender, genuinely delicious, and comes together so quickly you’ll wonder why you ever bothered with box mixes in the first place.
Here’s what makes this different: it’s not hiding behind buttermilk and weird chemistry. It’s real ingredients that actually taste like something. Butter, eggs, vanilla, flour. That’s the foundation. But the technique? That’s where the magic happens.
Two things separate an okay homemade cake from one people actually crave. First, creaming butter and sugar until it’s light and fluffy—this takes maybe three minutes but it changes everything. Second, alternating wet and dry ingredients so you don’t overmix and end up with a dense brick.
That’s it. Two things. Everything else is just following the steps.
And honestly, this whole thing takes about 30 minutes to throw together. Baking is another 25-30 depending on your oven. While it’s in the oven, you frost another cake layer or just take a breath for the first time all day.
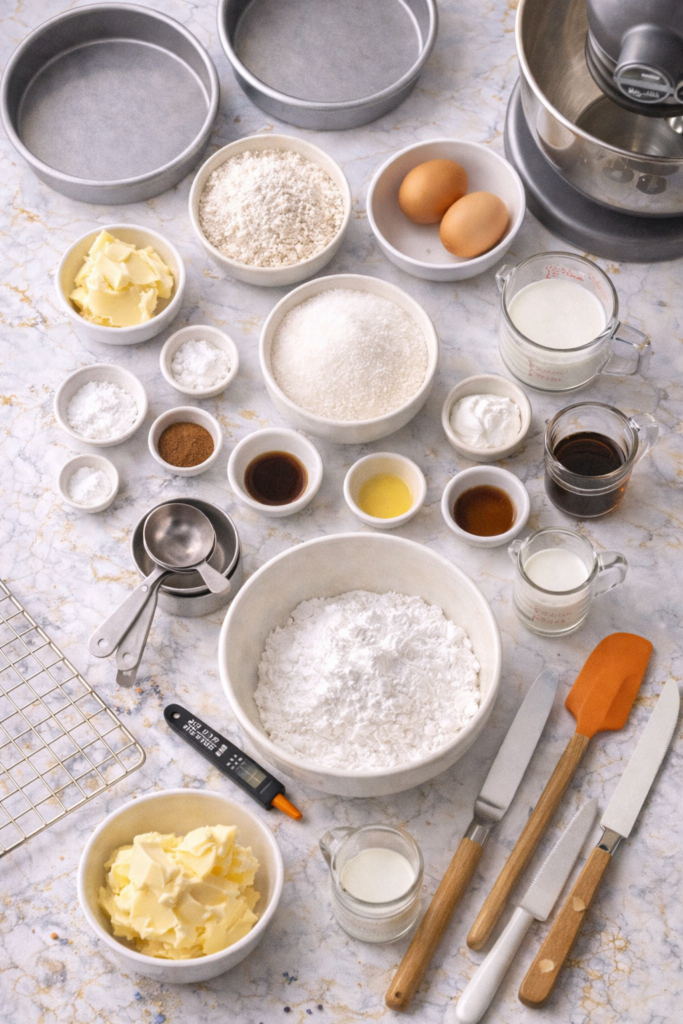
What You’ll Need
For the Cake
- 2 cups all-purpose flour
- 2 teaspoons baking powder
- 1/2 teaspoon baking soda
- 1/2 teaspoon salt
- 1/2 cup (115g) unsalted butter, room temperature
- 1 1/2 cups granulated sugar
- 2 large eggs, room temperature
- 3/4 cup whole milk, room temperature
- 1/4 cup sour cream
- 2 teaspoons vanilla extract
- 1 tablespoon fresh lemon juice (optional but worth it)
For the Frosting
- 1/2 cup (115g) unsalted butter, softened
- 3 cups powdered sugar
- 3 tablespoons whole milk
- 1 1/2 teaspoons vanilla extract
- Pinch of salt
Optional Add-Ins
- 1 tablespoon poppy seeds for texture
- Zest of 1 lemon for brightness
- 1/2 teaspoon almond extract for depth
- Food coloring for fun
Tools You’ll Need
- 2 round 8-inch cake pans
- Stand mixer or hand mixer
- Large mixing bowl
- Medium mixing bowl
- Measuring cups and spoons
- Wooden spoon or silicone spatula
- Cake tester or toothpick
- Wire cooling racks
- Offset spatula (optional but helpful)
- Sharp serrated knife for leveling
Pro Tips
1. Room temperature is not optional. Eggs, butter, and milk should be genuinely warm to the touch. Cold ingredients won’t emulsify properly, and you’ll end up with a dense cake. Pull everything out of the fridge 30 minutes before you start.
2. Cream butter and sugar until it’s pale and fluffy. This takes longer than you think—usually 3-4 minutes with a mixer. You’re not just mixing, you’re aerating. That air is what makes the cake light. Don’t rush it.
3. Alternate wet and dry ingredients starting and ending with dry. This matters more than you’d think. Go: dry, wet, dry, wet, dry. This prevents overmixing, which is the enemy of tender cake.
4. Don’t skip the sour cream. It sounds random, but sour cream adds moisture and tang that makes people say “wow, what bakery is this from?” even though you made it at 9 PM on a Tuesday.
5. Let the cake cool completely before frosting. Warm cake will melt the frosting and create a sliding disaster. Use a cooling rack so air circulates underneath. This takes time but saves frustration.
Substitutions and Variations
| Original | Swap For | Notes |
|---|---|---|
| All-purpose flour | Cake flour | Use 2 1/4 cups cake flour for extra tenderness; it’s more finely milled |
| Whole milk | Buttermilk | Use 3/4 cup; skip the sour cream for similar tanginess |
| Vanilla extract | Almond extract | Use 1 1/2 teaspoons; completely different flavor profile |
| Sour cream | Greek yogurt | Works just as well; slightly less tang |
| Granulated sugar | Brown sugar | Use 1 1/4 cups; cake will be slightly denser and richer |
| Powdered sugar frosting | Cream cheese frosting | Swap 3 oz cream cheese for some butter in frosting; more sophisticated |
| 2 round pans | 1 rectangular 9×13 pan | Bake at 350°F for 35-40 minutes; skip the layering |
Want chocolate? Swap 1/4 cup flour for cocoa powder. Want it lighter? Reduce sugar to 1 1/4 cups. Want it nuttier? Add 1/2 teaspoon almond extract.
Make Ahead Tips
- The batter: Make it up to 4 hours ahead. Store in the fridge, covered. It’ll bake perfectly fine from cold; just add 2-3 minutes to baking time.
- The cake layers: Bake up to 2 days ahead. Wrap cooled layers tightly in plastic wrap and store at room temperature. If you want to freeze, they last up to 3 months.
- The frosting: Make up to 5 days ahead and refrigerate. Soften at room temperature for 30 minutes before using. Stir well to smooth it out.
- The whole cake: Assemble and frost up to 1 day ahead. Store in an airtight container at room temperature. Cover the top loosely with plastic wrap so frosting doesn’t dry out.
How to Make Easy Homemade Cake
Step 1: Prep Your Workspace
- Preheat your oven to 350°F. Line the bottom of two 8-inch round pans with parchment paper and grease the sides.
- Pull butter, eggs, and milk out of the fridge if you haven’t already.
Step 2: Make the Batter
- In a medium bowl, whisk together flour, baking powder, baking soda, and salt. Set aside.
- In a large bowl with your mixer, cream butter and sugar for 3-4 minutes until it’s light, fluffy, and noticeably paler than when you started. This is the most important step. Don’t skip it.
- Add eggs one at a time, beating well after each addition. The mixture should look smooth and creamy.
- Stir together milk, sour cream, vanilla, and lemon juice in a small bowl.
- Starting with about 1/3 of the dry ingredients, add to the butter mixture and mix on low just until combined. Then add half the wet ingredients and mix. Repeat: dry, wet, dry. Finish with the remaining dry ingredients.
- Scrape down the sides of the bowl. Mix on low for just 5 more seconds. Stop. Overmixing now makes the cake tough.

Step 3: Bake
- Divide batter evenly between the two prepared pans. Tap them on the counter a few times to release air bubbles.
- Bake at 350°F for 25-30 minutes. The cake is done when a toothpick inserted in the center comes out clean or with just a few moist crumbs. The tops should spring back when you gently press them.
- Let cakes cool in the pans for 10 minutes, then turn out onto wire cooling racks. Let them cool completely. This takes about an hour, but it’s worth the wait.
Step 4: Make the Frosting
- In a large bowl, beat softened butter for 1 minute until creamy.
- Add powdered sugar a little at a time, beating after each addition. Once it starts coming together, add milk, vanilla, and salt.
- Beat for 2-3 minutes until the frosting is light, fluffy, and spreadable. If it’s too thick, add milk a teaspoon at a time. Too thin? Add more powdered sugar.
Step 5: Assemble
- Place the first cake layer on a cake stand or serving plate. If the top is domed, use a serrated knife to level it so it sits flat.
- Spread a generous layer of frosting on top—about 1/3 to 1/2 inch thick.
- Place the second layer on top. Spread frosting on the top and sides of the whole cake. Or keep it rustic with just the top frosted. Both look great.
- Let the frosting set for 30 minutes before slicing. This makes it cut cleaner.
Nutritional Breakdown (Per Slice)
Based on 10 slices:
| Nutrient | Amount Per Slice |
|---|---|
| Calories | ~380 |
| Protein | ~3g |
| Carbohydrates | ~55g |
| Fat | ~17g |
| Fiber | ~0g |
| Sodium | ~280mg |
The sour cream keeps this moist without being heavy. Butter provides real flavor and that tender crumb. This is a completely legitimate homemade cake, not a sad health compromise.
What to Serve With It
- Fresh berries on top or on the side. Strawberries, raspberries, blueberries—whatever’s in season.
- Whipped cream next to each slice. A dollop changes everything.
- Strong coffee or tea. The acidity cuts through the sweetness beautifully.
- A simple vanilla ice cream melting against warm cake. If you’re serving this warm, ice cream is basically required.
- Lemon curd drizzled between layers or on the plate. Extra sophistication for zero effort.
Leftovers and Storage
- Room temperature: Store covered with plastic wrap for 1-2 days. The frosting stays soft and the cake stays moist.
- Refrigerator: Cover tightly in plastic wrap for up to 4 days. Let it come to room temperature before serving; cold frosting is thick and dense.
- Freezer: Wrap unfrosted cake layers individually in plastic wrap and aluminum foil. They keep for up to 3 months. Frosted cake can be frozen too, but the frosting texture changes slightly when thawed.
- Reheating: A slice with a cup of tea is perfect at room temperature. If you want it slightly warm, microwave for 10-15 seconds. Don’t overdo it or you’ll dry it out.
FAQ
Can I make this in one pan instead of two?
Yes. Pour all batter into one 9-inch round pan and bake for 35-40 minutes. It’ll be thicker and take longer to bake. You’ll have one layer instead of two, so no stacking required.
My cake came out dry. What went wrong?
Most likely you overbaked it. Check for doneness at 25 minutes. Even 2 minutes too long makes a difference. Second possibility: you overmixed the batter after adding the wet ingredients. Third: room temperature ingredients matter more than you think.
Can I use oil instead of butter?
You can, but the cake will taste noticeably different. Butter has a richness and flavor that oil doesn’t. If you must use oil, use 3/4 cup (not a full cup) to avoid greasiness.
What if my frosting is too soft?
Put the bowl in the fridge for 10-15 minutes and beat again. If it’s consistently too soft, add more powdered sugar a tablespoon at a time.
Can I flavor this cake differently?
Absolutely. Add 1 tablespoon of espresso powder for chocolate flavor enhancement. Add 1 teaspoon almond extract. Add the zest of 2 lemons. Add 1/2 teaspoon peppermint extract. Swap vanilla frosting for lemon buttercream. The base is incredibly flexible.
How do I get super level, pretty layers?
Use a cake leveler or a serrated bread knife. Score a line around the sides where you want to cut, then carefully saw horizontally. It’s easier than it looks and makes the whole cake look more professional.
Can I double this recipe?
Yes. Double all ingredients. Bake in 3 or 4 pans, or bake in batches. Keep track of which pans came out of the oven first so you know which ones are coolest.
Wrapping Up
This is the cake you make when you want people to think you actually know what you’re doing in the kitchen.
It’s the one you pull out for a last-minute celebration. It’s the one you bring to a potluck and watch people go quiet for a second after they bite into it.
The scary part is in your head. The actual baking is just steps. Cream butter and sugar. Alternate wet and dry. Bake. Cool. Frost. Done.
Once you make this once, you’ll make it a hundred times. It’ll become your go-to for every occasion that needs something special but not complicated.
Give this a try and let me know how it turns out. Did you add any flavors? What did you frost it with? Any questions that popped up while you were making it? Drop a comment and tell me what happened in your kitchen.