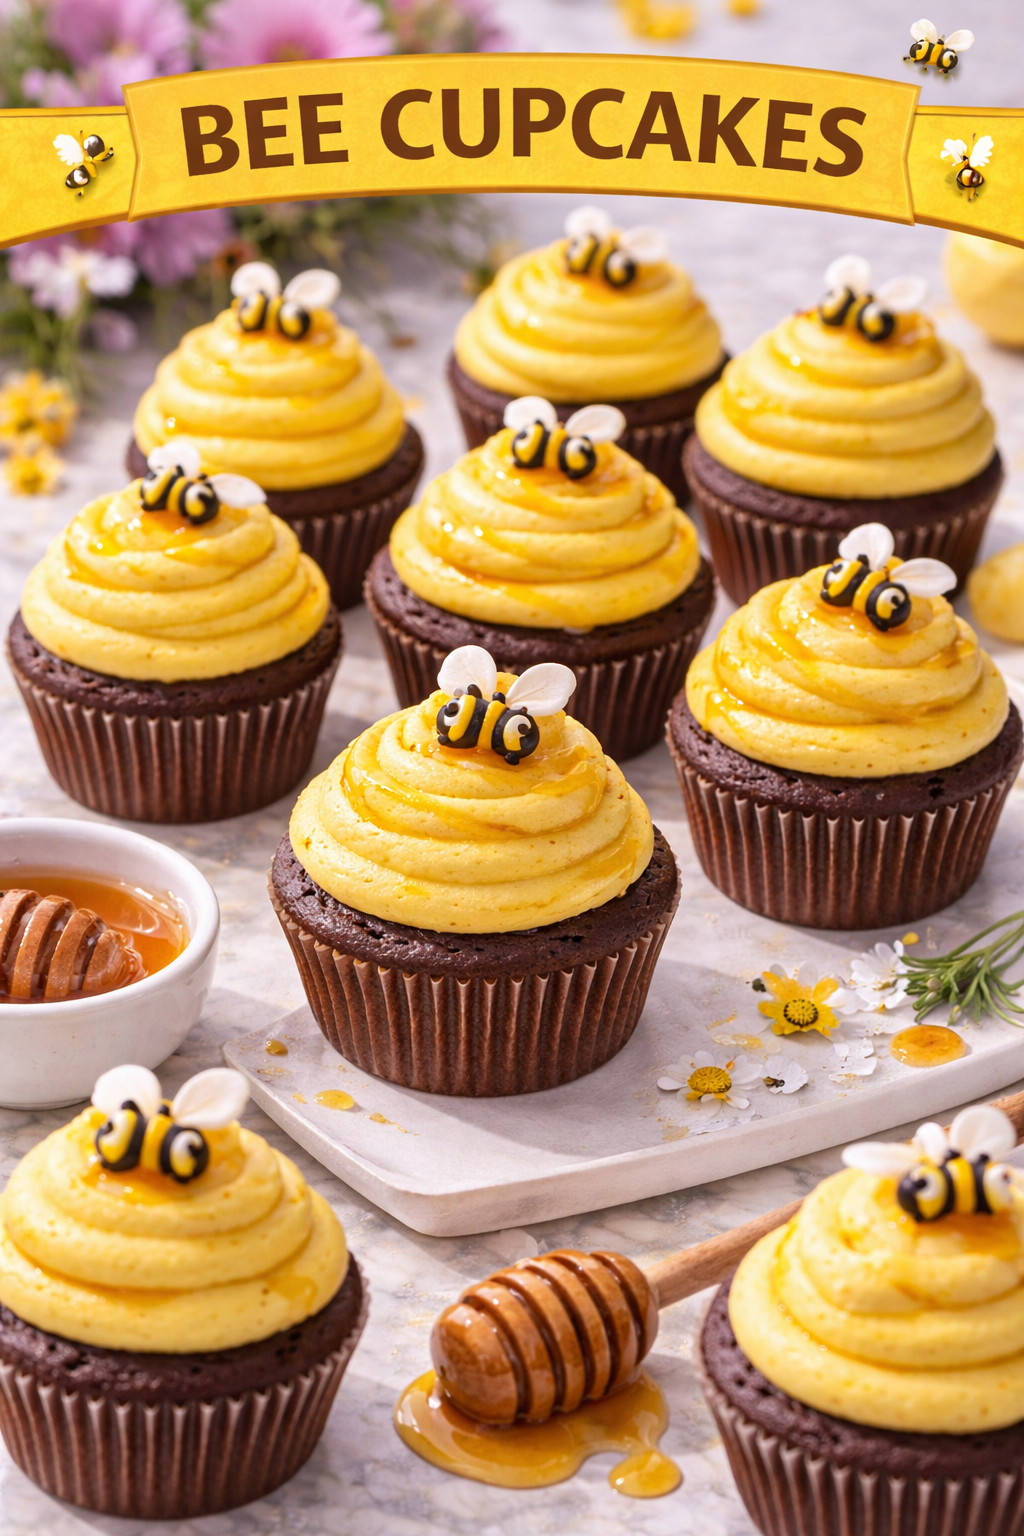
You know those baking projects that look complicated but are actually super fun to make? Bee cupcakes are exactly that.
I’ve been making these for birthday parties and spring gatherings, and they never fail to get reactions. Kids lose their minds over them (in a good way), and adults love how creative they are without being fussy.
They’re just vanilla cupcakes with a simple decorating technique that turns them into adorable little bees. No fancy piping skills needed, no special tools required.
Let’s get into it.
What You’ll Need
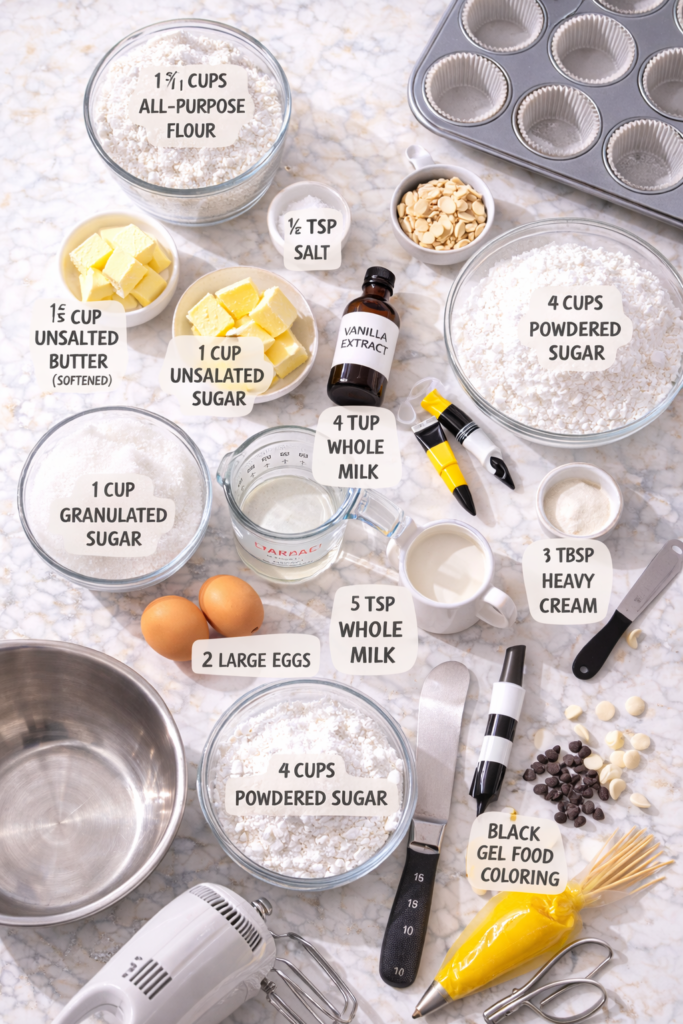
For the Cupcakes:
- 1 ¾ cups all-purpose flour
- 1 ½ teaspoons baking powder
- ½ teaspoon salt
- ½ cup unsalted butter, softened
- 1 cup granulated sugar
- 2 large eggs, room temperature
- 2 teaspoons vanilla extract
- ¾ cup whole milk, room temperature
For the Vanilla Buttercream:
- 1 cup unsalted butter, softened
- 4 cups powdered sugar
- 3 tablespoons heavy cream
- 2 teaspoons vanilla extract
- Pinch of salt
For the Bee Decorations:
- Yellow food coloring gel
- Black food coloring gel
- Sliced almonds (for wings)
- Mini chocolate chips (for eyes)
- White chocolate chips (optional, for a different wing option)
Tools You’ll Need
Here’s what you’ll want to have ready before you start:
- Standard 12-cup muffin tin
- Paper cupcake liners
- Electric mixer (stand or hand)
- Medium mixing bowl
- Large mixing bowl
- Piping bag
- Round piping tip (I use Wilton 1A or similar)
- Small offset spatula
- Toothpicks
Pro Tips
Temperature matters more than you think. Room temperature ingredients mix together way better and create a lighter, fluffier cupcake. Take your eggs, butter, and milk out about an hour before you start baking.
Don’t overmix the batter. Mix just until the flour disappears into the wet ingredients. Overmixing develops gluten and makes your cupcakes dense and tough. I usually count to 10 after I stop seeing flour streaks, then I’m done.
Let cupcakes cool completely before frosting. I know it’s tempting to frost them while they’re still warm, but the buttercream will literally melt off. Trust me, I’ve learned this the hard way more times than I’d like to admit.
Use gel food coloring, not liquid. Gel colors are way more concentrated, so you get vibrant colors without adding extra liquid that can mess up your frosting consistency.
Make the black stripes slightly raised. This gives your bees more dimension and makes them look less flat. It’s a small detail that makes a big difference.
Making the Cupcakes
Preheat your oven to 350°F. Line your muffin tin with cupcake liners.
Mix the dry ingredients. Whisk together flour, baking powder, and salt in a medium bowl. Set it aside.
Cream the butter and sugar. Beat the softened butter and sugar together for about 3 minutes until it’s light and fluffy. This step is important for getting that perfect texture.
Add eggs one at a time. Mix in each egg until it’s fully incorporated before adding the next one. Scrape down the sides of the bowl between additions.
Add vanilla. Mix in the vanilla extract.
Alternate adding dry and wet ingredients. Add about a third of the flour mixture, mix until just combined, then add half the milk. Repeat, ending with the flour. Don’t overmix.
Fill the liners. Fill each liner about two-thirds full. I use an ice cream scoop for this because it’s way easier and more consistent than spooning.
Bake for 18-20 minutes. They’re done when a toothpick inserted in the center comes out clean or with just a few moist crumbs.
Cool completely. Let them cool in the pan for 5 minutes, then transfer to a wire rack. They need to be completely cool before you frost them.
Making the Buttercream
Beat the butter. Beat softened butter on medium-high speed for about 3 minutes until it’s pale and fluffy.
Add powdered sugar gradually. Add it one cup at a time, mixing on low speed after each addition. Once all the sugar is in, increase to medium-high and beat for 2 minutes.
Add cream and vanilla. Mix in the heavy cream, vanilla, and salt. Beat for another 2-3 minutes until light and fluffy.
Divide and color. Take out about ⅔ of the buttercream and color it bright yellow with gel food coloring. Color the remaining ⅓ black.
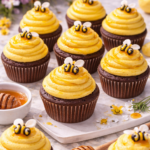
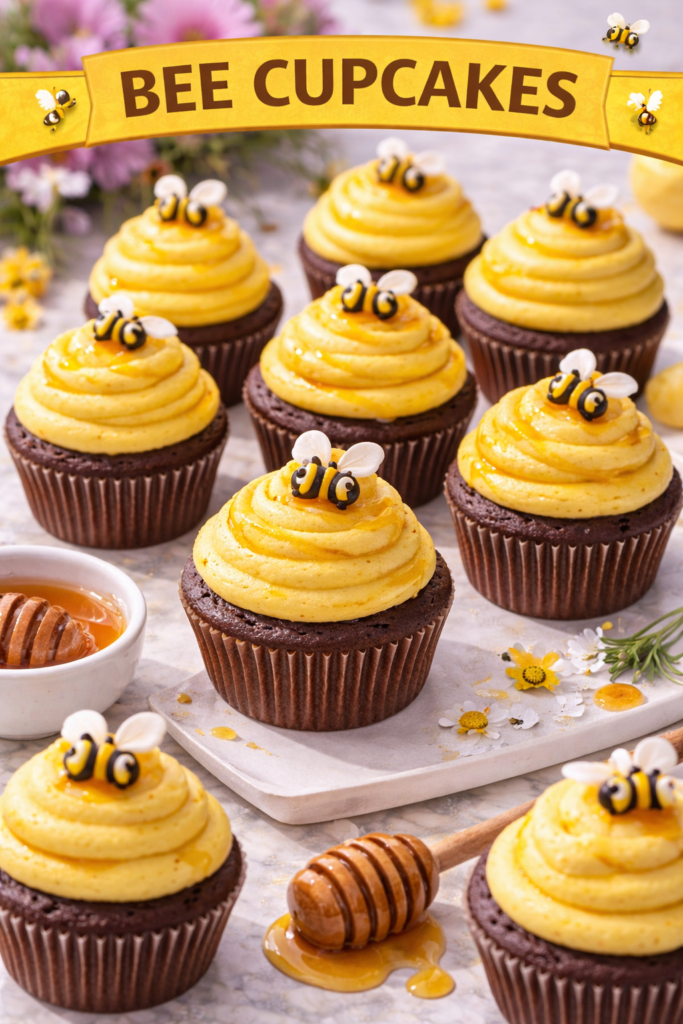
Decorating the Bees
This is where it gets fun.
Frost with yellow buttercream. Use a piping bag with a round tip to pipe a mound of yellow frosting on each cupcake. You want it rounded and dome-shaped, like a little bee body.
Add black stripes. Transfer the black buttercream to a piping bag (you can use a ziplock bag with the corner cut off if you don’t have another piping bag). Pipe 3-4 horizontal stripes across the yellow frosting.
Insert almond wings. Gently push 2 sliced almonds into the sides of each cupcake at a slight angle. They should look like they’re sticking up and out.
Add chocolate chip eyes. Place 2 mini chocolate chips near the top for eyes, pressing them gently into the frosting.
That’s it. You just made bee cupcakes.
Substitutions and Variations
Cake flour instead of all-purpose: This makes the cupcakes even more tender. Use 2 cups cake flour in place of 1 ¾ cups all-purpose.
Different wing options: White chocolate chips work great as wings if you can’t find sliced almonds. You can also use candy melts shaped into wings.
Chocolate cupcakes: Swap out ¼ cup of flour for cocoa powder if you want chocolate bees. They look like bumblebees instead of honey bees.
Flavored buttercream: Add ½ teaspoon almond extract to the buttercream for a subtle flavor boost.
Skip the food coloring: If you want a more natural look, you can tint the buttercream with turmeric powder for yellow (start with ¼ teaspoon) and activated charcoal for black.
Make Ahead Tips
Bake cupcakes the day before. Store them in an airtight container at room temperature. They’ll stay fresh for up to 2 days.
Make buttercream in advance. You can make it up to a week ahead and store it in the fridge. Just bring it to room temperature and re-whip it before using.
Decorate the morning of. Assembled bee cupcakes are best enjoyed the same day, but they’ll keep for 1-2 days in the fridge if needed.
Leftovers and Storage
Store leftover cupcakes in an airtight container at room temperature for up to 3 days.
If you frosted them, they can go in the fridge for up to 5 days. Just know that the buttercream will firm up, so let them sit at room temperature for about 30 minutes before serving.
You can also freeze unfrosted cupcakes for up to 3 months. Wrap them individually in plastic wrap, then store in a freezer bag. Thaw at room temperature before frosting.
Don’t freeze decorated cupcakes. The almonds get weird and the buttercream doesn’t hold up well.
Nutritional Information
Per cupcake (makes 12):
- Calories: 420
- Fat: 21g
- Carbohydrates: 56g
- Protein: 3g
- Sugar: 45g
- Sodium: 180mg
Keep in mind these are treats, not health food. They’re meant for special occasions and celebrations.
FAQ
Can I use a different frosting? Yes. Cream cheese frosting works great if you prefer it less sweet. You can also use store-bought frosting if you’re short on time.
What if I don’t have piping bags? Use ziplock bags with the corner snipped off. It works just fine for this type of decorating.
How do I get the food coloring really vibrant? Use gel food coloring instead of liquid. Start with a little and add more until you get the shade you want. For really bright yellow, I usually need about ½ teaspoon of gel color.
Can I make mini bee cupcakes? Absolutely. Use a mini muffin tin and reduce the baking time to 10-12 minutes. You’ll get about 24-30 mini cupcakes.
Do the cupcakes need to be refrigerated? Not if you’re serving them within a day or two. Buttercream is shelf-stable at room temperature for a few days as long as it’s not super hot in your kitchen.
Can I make these nut-free? Yes. Use white chocolate chips or candy melts for the wings instead of almonds. You can even cut wing shapes out of white fondant if you want to get fancy.
Why are my cupcakes dense? Usually from overmixing the batter or using cold ingredients. Make sure everything is room temperature and mix just until combined.
Wrapping Up
These bee cupcakes are honestly one of my favorite things to make when I want something that looks impressive but doesn’t stress me out.
They’re perfect for spring parties, garden-themed birthdays, or just because you want to make something fun on a random Tuesday.
Kids love decorating them too, so it’s a great project to do together if you’re looking for an activity.
Give them a try and let me know how they turn out in the comments below. Did your bees turn out cute or a little wonky? Either way, they’ll still taste amazing.