You’re standing in your kitchen looking at a bunch of bananas that are basically brown at this point. They’re past eating. Past giving to anyone. You’re about to toss them.
Stop right there.
This is exactly when banana bread happens. And I’m telling you right now, the banana bread that comes from those sad, overripe bananas is infinitely better than anything you could make with perfect yellow ones.
Those brown bananas? That’s concentrated sweetness. That’s natural sugar breakdown. That’s the difference between decent banana bread and the kind people ask for the recipe on.
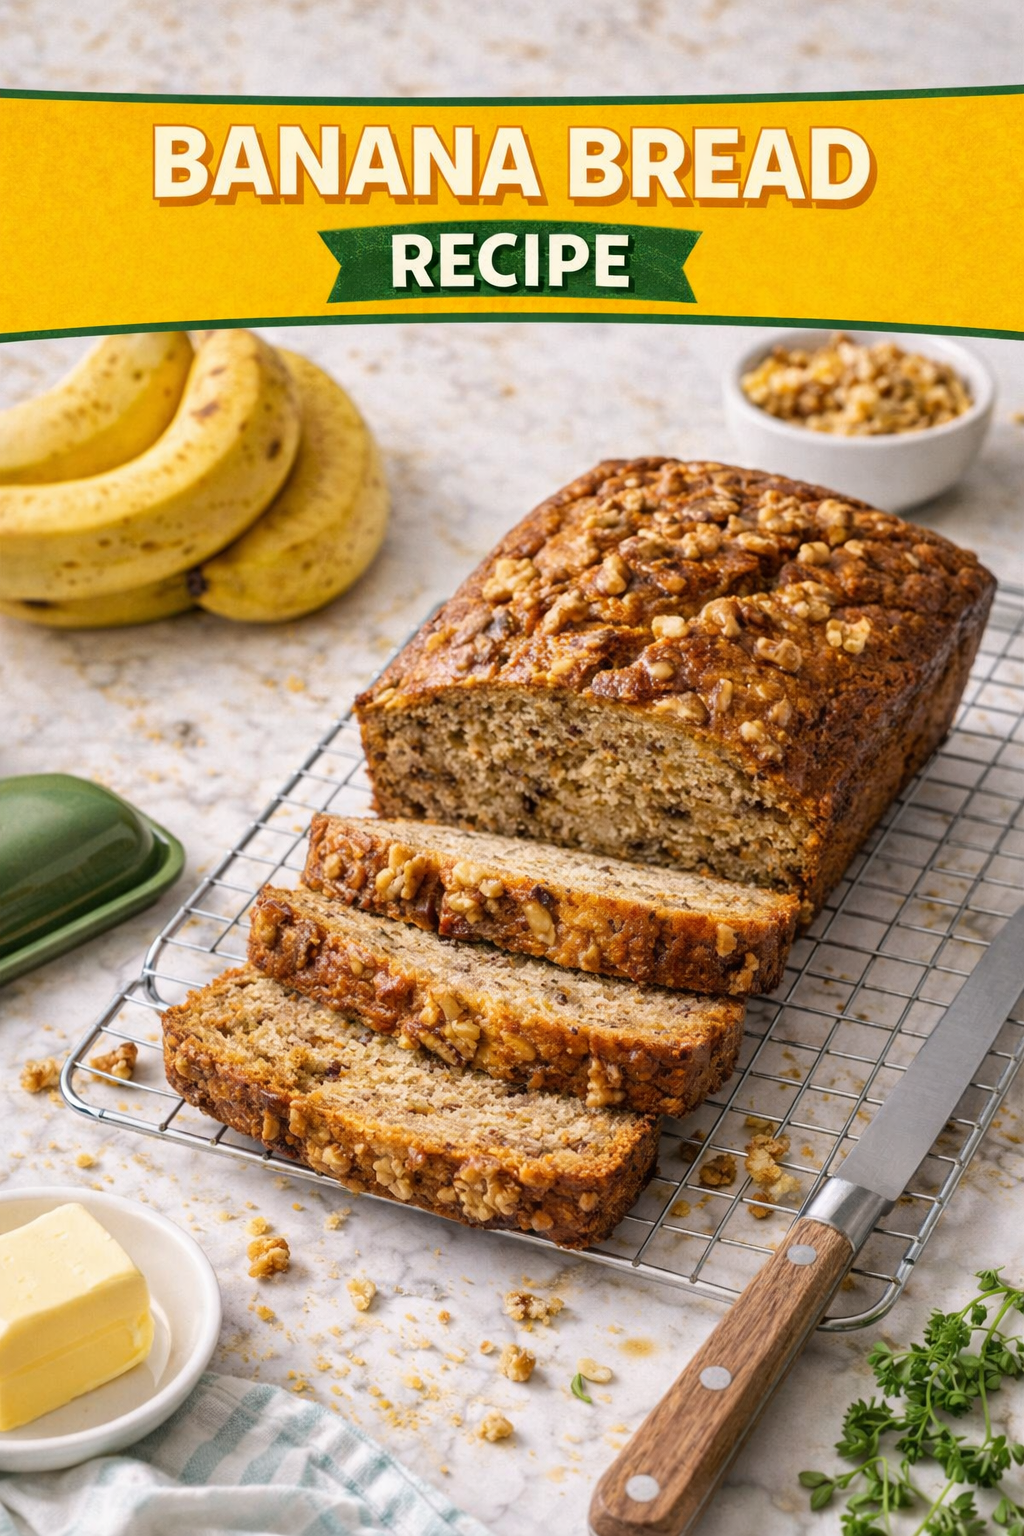
I’ve been making this banana bread for years, and it’s honestly one of those recipes that feels a lot more impressive than it actually is. You’re mixing ingredients in one bowl, pouring into a pan, and 50 minutes later you’ve got something warm and fragrant coming out of your oven that smells like your kitchen got a total upgrade.
The texture is dense but moist. Not cake-like. Not too heavy. It’s that perfect sweet spot where you actually want to eat two slices without feeling like you need a nap.
Here’s what makes this version different: we’re doing a few small things that shift the entire result. The brown butter adds richness you don’t expect. A little sour cream keeps everything tender. The vanilla does way more work than people realize.
And honestly, the best part? You don’t need fancy equipment or ingredient hunting. Everything’s probably in your kitchen already.
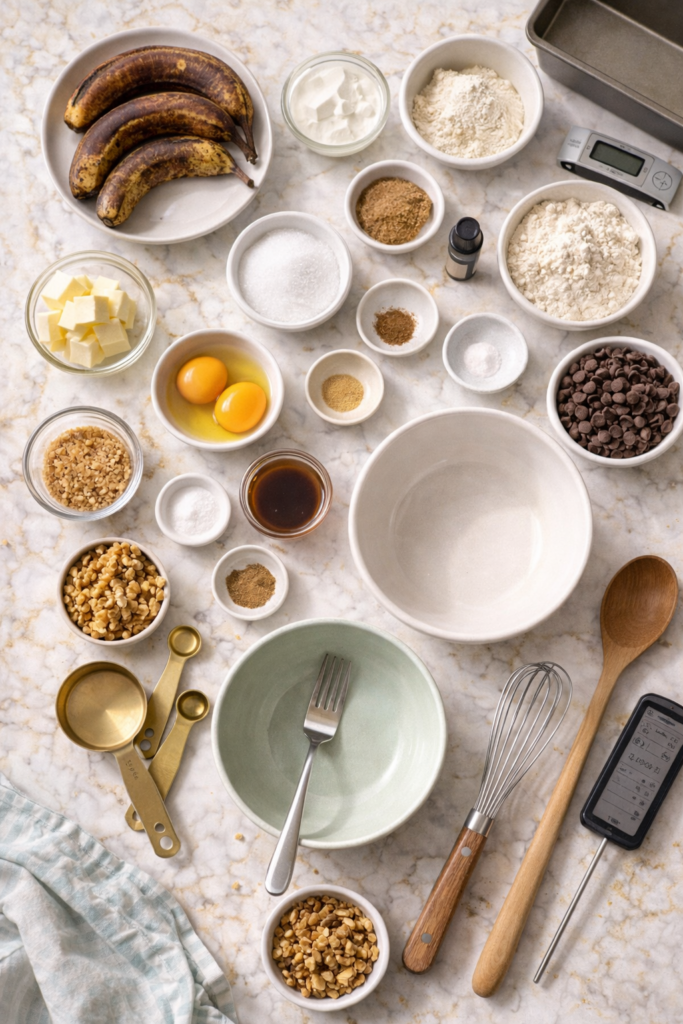
What You’ll Need
For the Bread
- 3 to 4 ripe bananas (about 1.5 cups mashed, the browner the better)
- 1/2 cup (115g) unsalted butter, browned (or regular melted butter if you’re short on time)
- 3/4 cup (150g) granulated sugar
- 1/4 cup (50g) brown sugar, packed
- 2 large eggs, room temperature
- 1/3 cup (80ml) sour cream or Greek yogurt
- 2 teaspoons vanilla extract
- 1/2 teaspoon salt
- 1 teaspoon baking soda
- 1 3/4 cups (220g) all-purpose flour
- 1/2 teaspoon ground cinnamon
- 1/4 teaspoon nutmeg (this matters, don’t skip it)
Optional Additions
- 1/2 cup chopped walnuts or pecans
- 1/2 cup chocolate chips
- 1/4 cup shredded coconut
- 2 tablespoons of espresso powder (sounds weird, tastes incredible with the chocolate)
Tools You’ll Need
- 9×5 inch loaf pan (standard size)
- Small saucepan (for browning butter)
- Large mixing bowl
- Medium mixing bowl
- Whisk or fork (for mashing bananas)
- Wooden spoon or spatula
- Measuring cups and spoons
- Instant-read thermometer (optional but helpful)
Pro Tips
1. Brown your butter and let it cool completely. This is the move that changes everything. You’re not just melting butter, you’re toasting the milk solids until they’re nutty and dark. Brown it in a small saucepan over medium heat, watching carefully for about 5-7 minutes. You’ll smell it before you see it. Once it smells like toasted nuts, remove from heat and let it sit for a few minutes. Pour it into a bowl and let it cool while you work on other ingredients.
2. Use the most overripe bananas you can find. I’m talking brown spots everywhere. Dark on the outside. These are peak banana bread bananas. They’re so much sweeter and easier to mash. If your bananas are still yellow, put them on the counter for a few days or pop them in a warm spot.
3. Don’t overmix once you add the flour. This is where people mess up. Overmixing develops gluten, which turns banana bread tough and dense (not in the good way). Stir just until the flour disappears. A few streaks of flour are fine. Stop there.
4. Room temperature eggs matter more than you think. Cold eggs don’t mix in smoothly with the rest of the ingredients. They create little lumps. Let them sit on the counter for 30 minutes while you prep everything else. Small thing, massive difference.
5. Use sour cream instead of just butter and eggs. Most banana bread recipes are dry because they don’t have enough fat. Sour cream adds moisture and tang that balances the sweetness perfectly. Greek yogurt works too if that’s what you have.
Substitutions and Variations
| Original | Swap For | Notes |
|---|---|---|
| All-purpose flour | Whole wheat flour | Use 3/4 all-purpose and 1 cup whole wheat for nutty flavor |
| Sour cream | Greek yogurt or applesauce | Applesauce works but bread will be slightly less moist |
| Brown butter | Regular melted butter | You’ll lose some depth but it still tastes great |
| Walnuts | Pecans, almonds, or no nuts | Almonds are lighter and crisper |
| Granulated sugar | Honey or maple syrup | Use 1/2 cup and reduce sour cream by 2 tablespoons |
| Cinnamon | Cardamom or ginger | Cardamom is fancy, ginger is spicy |
For a healthier twist, replace half the all-purpose flour with oat flour. For a less sweet version, reduce the sugar to 1/2 cup total. You can also split the difference and make mini loaves (two 7×3 inch pans) that bake faster.
Make Ahead Tips
- Batter ahead: Mix everything except the nuts or chocolate the night before. Store in the fridge. Bake the next day. The banana flavor actually deepens overnight.
- Freeze the bread: Wrapped tightly, banana bread freezes beautifully for up to 3 months. Thaw at room temperature for a few hours.
- Freeze unbaked batter: Pour batter into a parchment-lined loaf pan, freeze until solid, then transfer to a freezer bag. Bake straight from frozen, adding about 10 extra minutes to baking time.
How to Make Banana Bread
Step 1: Brown the Butter and Prep
- Add butter to a small saucepan over medium heat.
- Let it melt, then swirl gently for 5-7 minutes until it turns golden brown and smells nutty. You’ll see dark bits at the bottom (that’s the good stuff).
- Pour into a bowl and let cool completely while you work on everything else.
- Preheat your oven to 350°F (175°C) and grease your loaf pan really well. Line the bottom with parchment paper if you’re feeling fancy.
Step 2: Mash the Bananas
- Peel your bananas and mash them in a large bowl with a fork until mostly smooth. Some small chunks are totally fine.
- You should have about 1.5 cups of mashed banana. This is the base everything else sits on, so don’t skimp here.
Step 3: Mix the Wet Ingredients
- Add the cooled brown butter to the bananas and stir to combine.
- Add the granulated sugar and brown sugar, mixing until everything is combined.
- Crack in the eggs one at a time, stirring well after each one.
- Add the sour cream and vanilla extract, stirring until smooth.
Step 4: Combine Dry Ingredients
- In a separate bowl, whisk together the flour, baking soda, salt, cinnamon, and nutmeg.
- Give it a good whisk so the baking soda is distributed evenly. You don’t want pockets of it in the final bread.
Step 5: Bring It Together
- Pour the dry ingredients into the wet ingredients.
- Fold gently with a spatula or wooden spoon until just combined. Stop as soon as you don’t see streaks of flour. Overmixing will make this tough.
- Fold in any nuts, chocolate, or add-ins at the very last second.
- Pour into your prepared loaf pan, smoothing the top slightly.
Step 6: Bake
- Bake for 45 to 55 minutes, until a toothpick inserted in the center comes out with just a few moist crumbs. The top should be golden brown.
- A thermometer should read around 205 to 210°F in the center when it’s done.
- Let cool in the pan for about 10 minutes, then turn out onto a wire rack to cool completely.
- The bread will slice best after it’s completely cooled (at least a few hours). I know you want to eat it warm. Do it anyway.

Nutritional Breakdown (Per Slice)
Based on 12 slices per loaf:
| Nutrient | Amount Per Slice |
|---|---|
| Calories | ~230 |
| Protein | ~3g |
| Carbohydrates | ~32g |
| Fat | ~10g |
| Fiber | ~1g |
| Sodium | ~180mg |
Bananas provide potassium and natural sweetness. Brown butter adds fat-soluble vitamins. Eggs bring quality protein. This is actual food you’re eating, not just sugar and flour.
What to Serve With It
- Cream cheese spread on a warm slice (serious upgrade)
- Almond butter with a drizzle of honey
- Whipped butter and jam on toasted slices
- Strong black coffee or tea
- A little pinch of sea salt on top (sounds weird, tastes amazing)
Toast it the next day. The texture actually improves as the bread sits.
Leftovers and Storage
- Room temperature: Store in an airtight container or wrapped in plastic wrap for up to 4 days. It actually tastes better on day 2 or 3 when the flavors have melded.
- Fridge: If you want to extend it, refrigerate for up to a week. Toast before serving.
- Freezer: Wrap the entire loaf in plastic wrap and then foil. Freeze for up to 3 months. Thaw at room temperature.
- Smart move: Slice before freezing so you can toast individual slices whenever you want. Store in a freezer bag with parchment between slices.
FAQ
Can I use frozen bananas?
Yes. Thaw them first and drain off any excess liquid. Frozen bananas are often softer, so you might end up with slightly wetter batter. That’s fine, just reduce baking time by a few minutes and check early.
My bread came out dense. What happened?
You either overmixed the batter (most common) or the oven temperature was off. Overmixing develops gluten and creates that heavy crumb. Next time, mix gently and stop as soon as the flour disappears. Dense is also what happens if your bananas weren’t ripe enough, so make sure they’re basically brown.
Can I skip the brown butter?
You can use regular melted butter, but you’ll lose that toasty, nutty flavor. It’s only 5 extra minutes of work, so I’d do it if you have time.
What does the nutmeg actually do?
It adds a subtle warmth that makes people ask “what’s in this?” without them being able to point to it. Use fresh nutmeg if you can. Pre-ground loses potency after a while.
Can I make this dairy-free?
Replace the butter with coconut oil or vegan butter. Swap the sour cream for coconut yogurt or a mixture of applesauce and lemon juice. The texture will be slightly different but still really good.
How do I know when it’s actually done?
A toothpick in the center should come out clean or with a few moist crumbs clinging to it. If it’s covered in wet batter, it needs more time. The top should be golden brown and the sides might pull away from the pan slightly.
Can I use a different pan size?
Yes. Muffin tins will bake faster (20-25 minutes). Smaller loaves bake in about 35-40 minutes. Larger loaves need extra time. Basically, check early and often if you’re using a different size.
Wrapping Up
Banana bread is one of those recipes that sits at the intersection of easy and impressive. You’re not doing anything complicated. You’re just paying attention to a few small details that shift the entire result.
Brown butter, ripe bananas, gentle mixing, and sour cream. That’s the formula.
Make this when you’ve got bananas on the counter that need rescuing. Make it when you want something warm and comforting for breakfast. Make it because it fills your kitchen with a smell that costs nothing but makes everything feel a little better.
Try this and let me know how it turns out. Did your bananas work? Did you add anything extra? What’s your favorite way to eat it? Drop a comment below. I actually read them and love hearing what happened in your kitchen.