You bring a dessert to a party once that people can’t stop talking about, and suddenly you’re that person.
The one people specifically request things from. The one who gets texts saying “are you bringing that thing again?”
These no-bake Nutella cheesecake bars are that thing.
They’re creamy, chocolatey, impossibly rich, and you don’t even have to turn on your oven. The whole thing comes together in about 20 minutes of actual work. And when you slice them up at a party and watch the faces? That’s the good stuff.
Fair warning: make a double batch. People will take two.
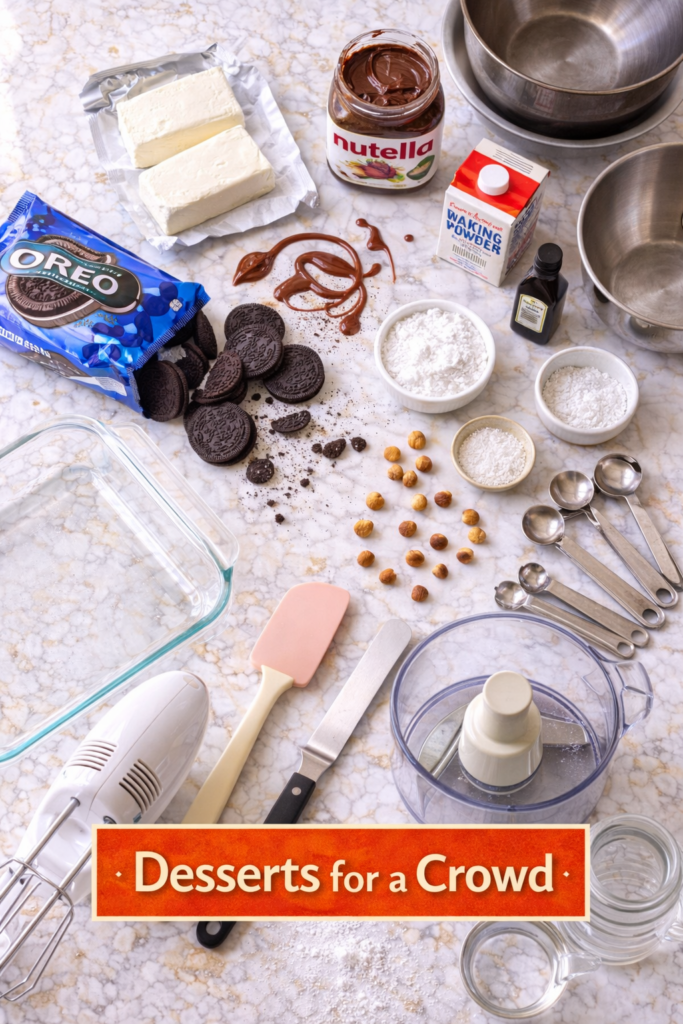
What You’ll Need
For the Crust
- 2 cups crushed Oreo cookies (about 24 Oreos, filling included)
- 5 tablespoons unsalted butter, melted
For the Filling
- 16 oz (2 blocks) full-fat cream cheese, softened to room temperature
- 1 cup Nutella
- 1 cup powdered sugar, sifted
- 1 cup heavy whipping cream, cold
- 1 teaspoon pure vanilla extract
For the Topping
- ½ cup Nutella, slightly warmed
- ¼ cup roughly chopped toasted hazelnuts
- 1 teaspoon flaky sea salt
Tools You’ll Need
- 9×13 inch baking dish
- Parchment paper
- Food processor (or a zip-lock bag and a rolling pin)
- Electric hand mixer or stand mixer
- 2 large mixing bowls
- Rubber spatula
- Measuring cups and spoons
- Offset spatula or the back of a large spoon
- Plastic wrap
Pro Tips
These are the things I wish someone had told me the first time I made these.
- Room temperature cream cheese is non-negotiable. Cold cream cheese = lumpy filling. Pull it out of the fridge at least an hour before you start. The texture difference is wild.
- Sift your powdered sugar. Takes 30 extra seconds and saves you from grainy cheesecake filling. Worth it every time.
- Cold heavy cream whips better and faster. Keep it in the fridge right up until the moment you need it. Some people even chill the bowl, which helps even more.
- Press the crust firmly and evenly. Use the flat bottom of a measuring cup to pack it down tight. A loose crust = bars that fall apart when you cut them. Not what we want.
- Don’t skip the overnight chill. Four hours is the minimum, but overnight gives you clean, beautiful slices. It’s the difference between “homemade looking” and “did you buy this somewhere?”
Substitutions & Variations
Not everyone eats the same thing, and this recipe is actually really easy to adapt.
- Gluten-free: Swap regular Oreos for gluten-free Oreos or any GF chocolate sandwich cookie. They work exactly the same.
- Dairy-free: Use dairy-free cream cheese (Violife or Kite Hill work well), coconut cream instead of heavy cream, and dairy-free chocolate hazelnut spread.
- No Nutella: Any chocolate hazelnut spread works. Or skip hazelnut entirely and use peanut butter for a chocolate PB spin that’s honestly just as addictive.
- Nut-free topping: Leave out the hazelnuts or swap for crushed Oreos, chocolate shavings, or mini chocolate chips.
- Mocha version: Add 1 teaspoon of espresso powder to the filling. It deepens the chocolate flavor in a way that’s hard to explain until you try it.
Make-Ahead Tips
This is genuinely one of the best make-ahead desserts you can bring to a party.
Make them up to 3 days in advance and keep them tightly covered in the fridge. Add the topping (warmed Nutella drizzle, hazelnuts, sea salt) the day you plan to serve for the best presentation.
If you’re transporting them, cut them into bars after they’ve fully chilled, then layer between sheets of parchment paper in a container. They hold up really well.
How to Make No-Bake Nutella Cheesecake Bars
Step 1: Make the Crust
Line your 9×13 baking dish with parchment paper, leaving some overhang on the sides. This makes lifting the bars out so much easier later.
Add your Oreos to a food processor and pulse until you get fine crumbs. No food processor? Put them in a zip-lock bag and crush them with a rolling pin. Both work great.
Mix the crumbs with melted butter until the texture looks like wet sand.
Pour the mixture into your prepared dish and press it down firmly and evenly using the flat bottom of a measuring cup. Every corner, every edge.
Pop it in the freezer while you make the filling.
Step 2: Whip the Cream
In a large, cold bowl, beat the heavy whipping cream with your electric mixer on medium-high until stiff peaks form. This takes about 3-4 minutes.
Set it aside in the fridge.
Step 3: Make the Filling
In your second large bowl, beat the softened cream cheese on medium speed until it’s completely smooth with no lumps, about 2 minutes.
Add the Nutella, sifted powdered sugar, and vanilla extract. Beat again until fully combined and creamy.
Now fold in the whipped cream gently using a rubber spatula. Go slow, work from the bottom up. You want to keep as much air in there as possible.
Step 4: Assemble
Pull your crust out of the freezer.
Pour the filling over the crust and spread it into an even layer with your offset spatula or the back of a spoon. Get it as smooth as you can.
Cover tightly with plastic wrap and refrigerate for a minimum of 4 hours, but overnight is ideal.
Step 5: Add the Topping and Serve
Once fully set, use the parchment overhang to lift the whole slab out onto a cutting board.
Warm your ½ cup of Nutella in the microwave for about 20-30 seconds until it’s pourable. Drizzle it over the top.
Scatter the chopped toasted hazelnuts over everything, then finish with a pinch of flaky sea salt.
Cut into bars. Watch people’s faces.
Nutrition (Per Bar, Based on 16 Bars)
| Nutrient | Amount |
|---|---|
| Calories | ~380 kcal |
| Fat | 27g |
| Saturated Fat | 13g |
| Carbohydrates | 32g |
| Sugar | 24g |
| Protein | 5g |
These are estimates. Exact values will vary based on specific brands used.
Diet notes: This recipe can be made gluten-free and dairy-free with the substitutions listed above. It’s naturally egg-free.
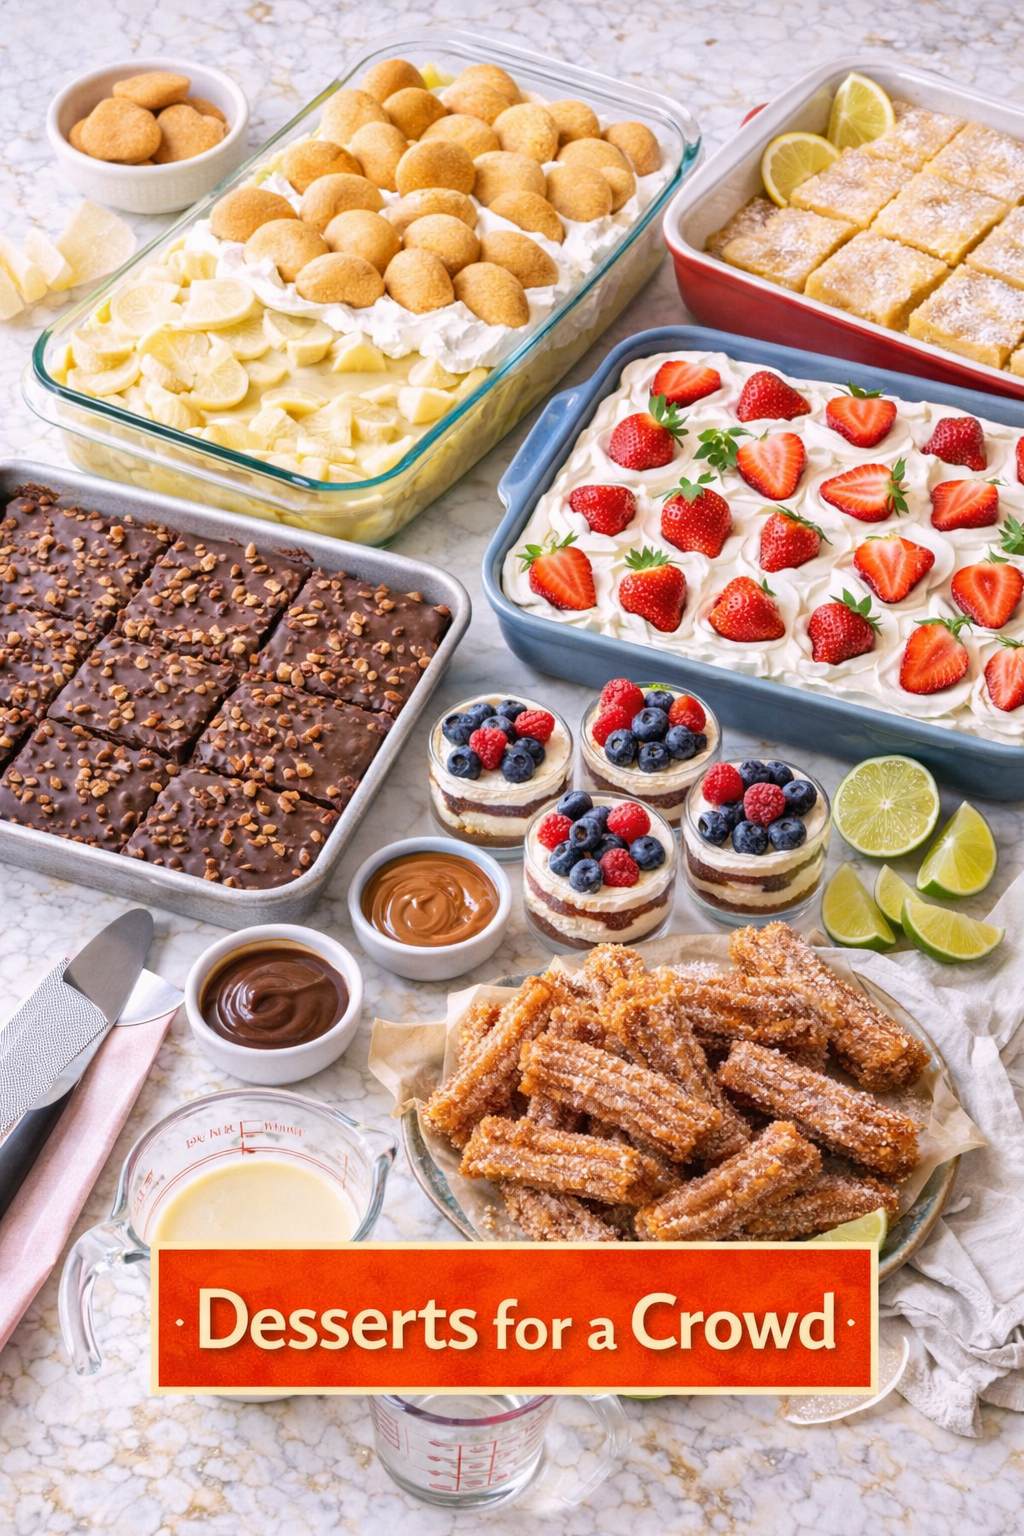
Meal Pairing Suggestions
If you’re building a full dessert spread or planning a dinner party, these bars pair really well alongside:
- Fresh strawberries or raspberries (the tartness cuts through the richness perfectly)
- A scoop of vanilla bean ice cream for an over-the-top plated dessert
- Strong coffee or espresso
- A lighter dessert like fruit salad, so guests have options
Leftovers and Storage
Fridge: Store leftover bars in an airtight container in the fridge for up to 5 days. They actually taste even better on day 2 once the flavors have really settled.
Freezer: These freeze beautifully. Wrap individual bars in plastic wrap, then place in a freezer-safe bag or container. Freeze for up to 2 months. Thaw in the fridge overnight before serving.
Do not leave them at room temperature for more than 2 hours since the cream cheese filling needs to stay cold.
FAQ
Can I make these in a smaller pan? Totally. Use an 8×8 or 9×9 pan for thicker bars. You’ll get fewer pieces but each one will be more substantial. Just make sure they’re fully set before cutting.
My filling has lumps. What happened? Almost always means the cream cheese wasn’t soft enough. If you’re in a rush, you can soften it quickly in the microwave in 10-second intervals, but be careful not to melt it. Beat it really well before adding anything else.
Can I use light cream cheese? You can, but the texture won’t be as firm or creamy. Full-fat cream cheese is what gives these bars their structure. Light cream cheese has more water content and can make the filling a bit softer.
Do I need to bake the crust? Nope. The butter binds the crumbs together and the fridge does the rest. That said, if you prefer a slightly crunchier crust, you can bake it at 350°F for 8 minutes and let it cool completely before adding the filling.
How far ahead can I make these? Up to 3 days. Add the decorative topping on the day you’re serving for the best look.
Can I double the recipe? Yes, and you probably should for a large crowd. Use two 9×13 pans or one large half-sheet pan. Everything scales evenly.
Wrapping Up
These bars are the kind of dessert that feels like a whole production but takes almost no effort.
No oven, no complicated techniques, nothing to stress about. Just a creamy, chocolatey slab of something people are going to love, made the day before so you’re not scrambling the morning of.
If you make them, come back and tell me how it went. Leave a comment below with any questions, tweaks you tried, or just to let me know how fast they disappeared. I genuinely love hearing that kind of thing. 🙂