You dump everything into a pan. You bake it. You eat it warm with a scoop of ice cream and wonder why you ever stressed about dessert.
That’s it. That’s the whole recipe.
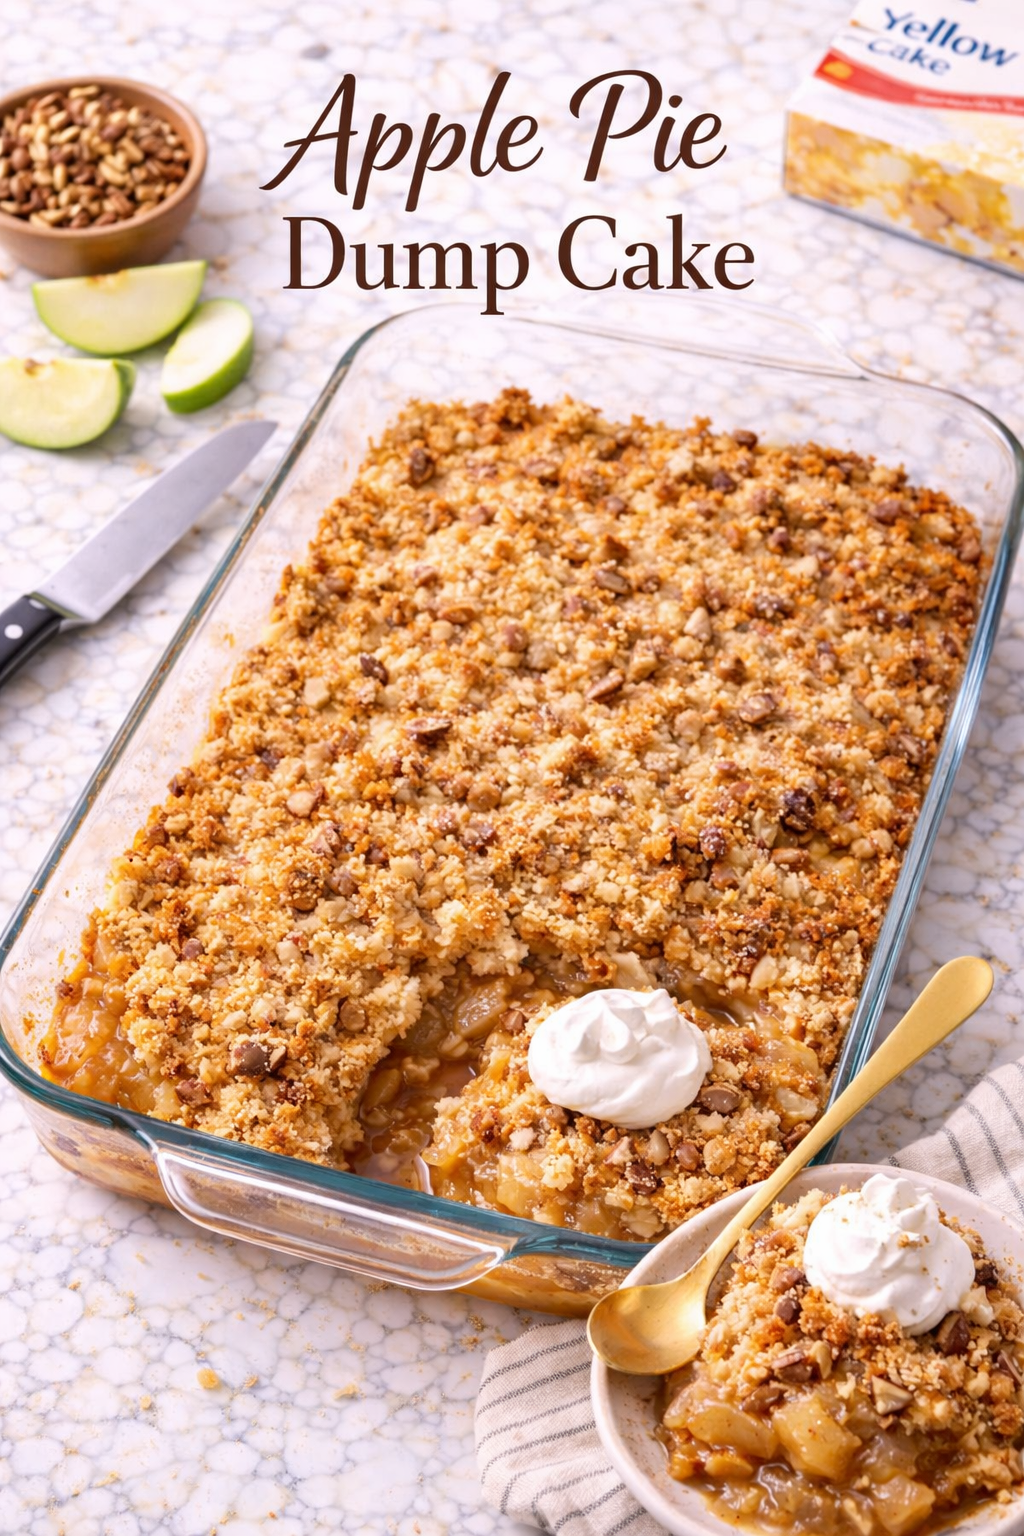
Apple pie dump cake is one of those desserts that feels almost too easy, and yet it comes out of the oven looking so good that people will absolutely think you put in way more effort than you actually did.
The crispy, buttery topping. The bubbling cinnamon apple filling underneath. The way the whole kitchen smells during those 45 minutes it’s baking.
Honestly, it’s the kind of recipe I wish I’d found years ago.
And the best thing? You probably already have most of these ingredients sitting in your pantry right now. 🙌
What Is a Dump Cake, Exactly?
If you’ve never made one before, the name sounds a little strange.
A dump cake is exactly what it sounds like. You dump your ingredients into a baking dish in layers, and the oven does the rest.
No mixing. No creaming butter. No waiting for anything to come to room temperature.
The boxed cake mix on top absorbs the butter and the juices from the filling below, turning into this incredible crispy, crumbly, buttery crust as it bakes. It’s somewhere between a cobbler and a crumble, and it’s genuinely one of the most satisfying desserts you can make with so little effort.
Fun fact: Dump cakes have been around since at least the 1980s and were popularized through community cookbooks. They were designed to be as simple as possible, and decades later, people are still making them for a reason.
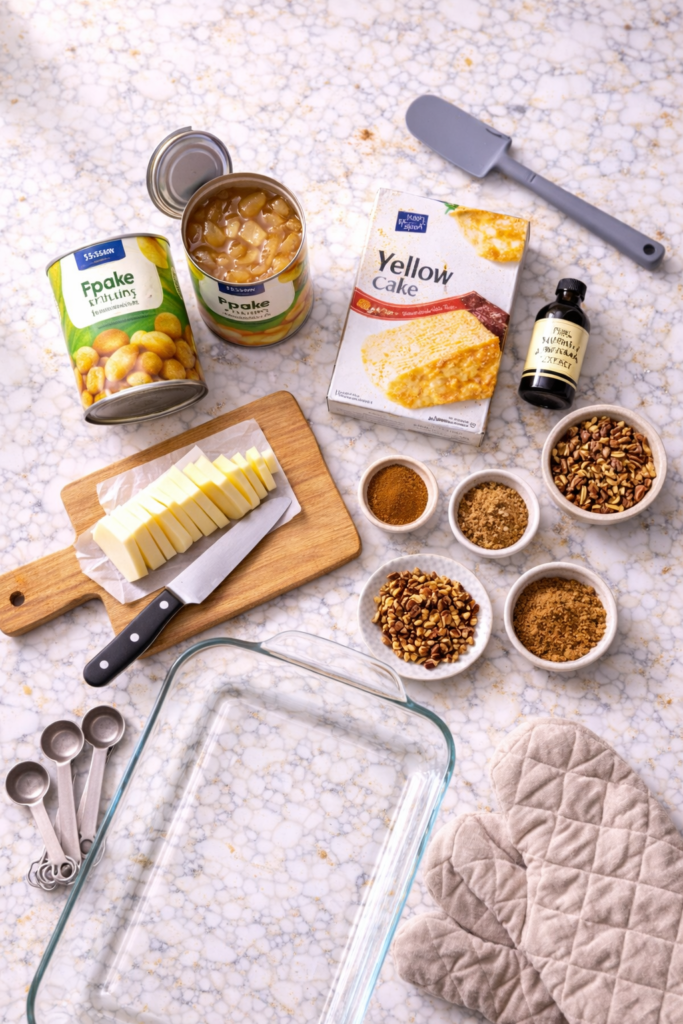
What You’ll Need
For the Filling
- 2 cans (21 oz each) apple pie filling
- 1 teaspoon ground cinnamon
- ¼ teaspoon ground nutmeg
- 1 teaspoon vanilla extract
For the Topping
- 1 box (15.25 oz) yellow cake mix (dry, straight from the box)
- ½ cup (1 stick / 113g) unsalted butter, thinly sliced
- Optional: ½ cup chopped pecans or walnuts
- Optional: ¼ cup brown sugar for extra caramelization
Tools You’ll Need
- 9×13 inch baking dish (glass or ceramic works best)
- Mixing spoon or spatula for spreading
- Sharp knife for slicing butter
- Measuring spoons
- Oven mitts
- Large spoon or serving spatula for dishing it out
Pro Tips
These are the things that make the difference between a good dump cake and a really good dump cake.
1. Slice your butter thin and cover every inch. This is the most important step. If you leave dry patches of cake mix that the butter doesn’t reach, you’ll end up with powdery, raw-tasting spots on top. Thin slices laid edge to edge = even golden coverage.
2. Don’t stir it. Not even a little. I know it’s tempting. Resist. The whole point is the layers. Once it’s in the pan, leave it alone and let the oven work.
3. Spike the apple filling. Straight from the can is fine, but adding cinnamon, nutmeg, and vanilla takes the flavor from “store-bought” to “homemade-tasting.” It takes 30 extra seconds and makes a noticeable difference.
4. Use cold butter, not melted. Some recipes call for melted butter poured over the top. Cold sliced butter actually gives you a better, crispier texture because it steams as it melts and creates more of that crumbly topping.
5. Let it rest before serving. Pull it out of the oven and give it 10 minutes before digging in. The filling sets up a little and it’s easier to scoop. Plus, you won’t burn your mouth, which is always a win.
How to Make Apple Pie Dump Cake
Prep time: 5 minutes Cook time: 45-50 minutes Total time: ~55 minutes Servings: 10-12
Step 1: Preheat and Prep
Preheat your oven to 350°F (175°C). Lightly grease your 9×13 baking dish with cooking spray or a small amount of butter.
Step 2: Make the Filling
Open both cans of apple pie filling and pour them into the baking dish.
Add the cinnamon, nutmeg, and vanilla extract right on top. Use a spoon to gently stir everything together directly in the pan until combined.
Spread the filling into an even layer.
Step 3: Add the Cake Mix
Open the box of yellow cake mix and pour it dry and straight over the apple filling. Do not add any of the eggs, oil, or water listed on the cake box. You’re only using the dry mix.
Spread it out into an even layer with the back of a spoon. Don’t press it down.
Step 4: Add the Butter
Slice your cold butter into thin pats (about ¼ inch thick). Lay them across the top of the dry cake mix in a single layer, covering as much surface area as possible.
If you’re using pecans or brown sugar, sprinkle them over the butter now.
Step 5: Bake
Place the dish in the preheated oven and bake for 45-50 minutes, or until the top is golden brown and you can see the apple filling bubbling up around the edges.
If the top starts browning too quickly, loosely tent it with aluminum foil for the last 10 minutes.
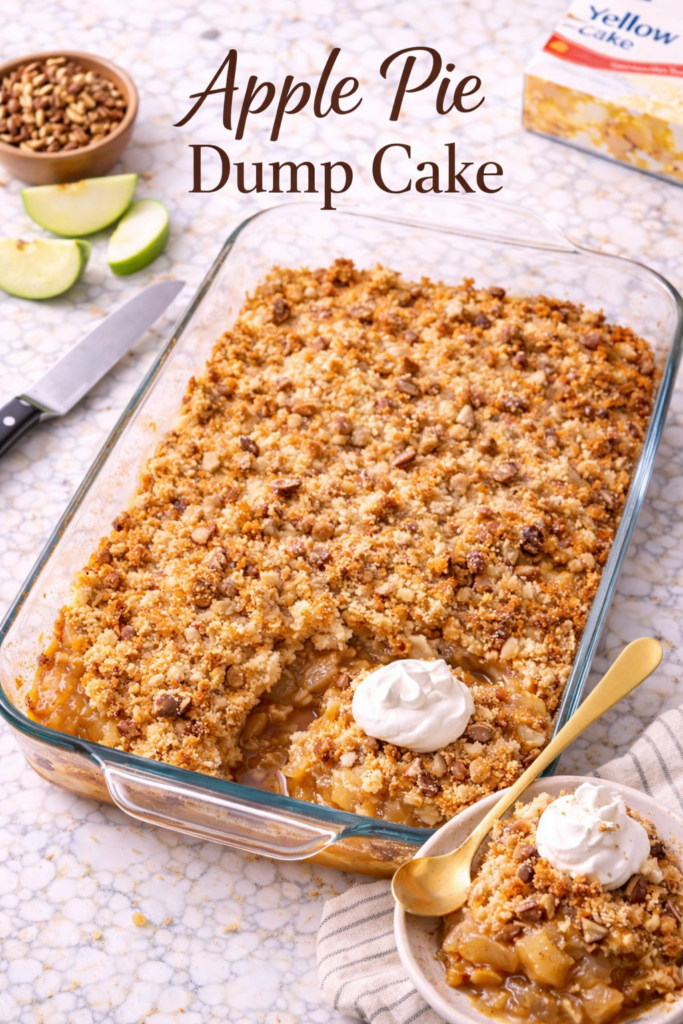
Step 6: Rest and Serve
Pull it out of the oven and let it rest for 10 minutes.
Serve warm with a scoop of vanilla ice cream, a dollop of whipped cream, or a drizzle of caramel sauce. Or all three. No judgment.
Substitutions and Variations
One of the best things about this recipe is how flexible it is.
Cake mix swaps:
- Spice cake mix instead of yellow for extra warm, fall flavor
- White cake mix for a lighter, more delicate topping
- Butter pecan cake mix for a richer, nuttier result
Filling swaps:
- Canned cherry + apple mixed together (cherry apple dump cake is incredible)
- Fresh apples if you want to go from scratch: peel and slice 4-5 apples, toss with ½ cup sugar, 1 tbsp cornstarch, and your spices
- Pumpkin spice apple for a cozy autumn version: add ½ cup pumpkin puree to the filling
Dietary swaps:
- Dairy-free: Use vegan butter (Earth Balance or similar works great)
- Gluten-free: Swap in a gluten-free yellow cake mix at a 1:1 ratio
- Lower sugar: Look for “no sugar added” apple pie filling to cut back
Add-ins:
- ½ cup raisins mixed into the filling
- A drizzle of caramel sauce between the filling and cake mix layers
- Shredded coconut on top with the butter
Make Ahead Tips
Got company coming? This one is great for planning ahead.
Night before: Assemble everything in the baking dish up through the cake mix layer. Cover with plastic wrap and refrigerate overnight. Add the butter slices right before baking.
Freeze the filling: Make and freeze the apple filling portion up to 3 months ahead. Thaw overnight in the fridge before assembling and baking.
Bake ahead: You can bake it fully, cool it completely, cover it, and refrigerate for up to 2 days. Reheat in a 300°F oven for 15-20 minutes before serving.
Nutritional Overview
| Per Serving (approx.) | Amount |
|---|---|
| Calories | ~320 kcal |
| Total Fat | ~12g |
| Saturated Fat | ~7g |
| Carbohydrates | ~52g |
| Sugar | ~30g |
| Protein | ~2g |
Based on 12 servings, without ice cream or toppings. Values are estimates and vary based on brands used.
Meal Pairing Suggestions
This dessert pairs so naturally with so many things.
- After a Sunday roast or pot roast dinner — the comfort food vibes are unmatched
- At a fall BBQ — easier to transport than a pie, just as crowd-pleasing
- Post-Thanksgiving dinner — when no one has energy to make a complicated dessert
- Brunch with coffee — yes, warm dump cake with a latte is a completely acceptable life choice
Leftovers and Storage
Fridge: Store covered with plastic wrap or in an airtight container for up to 4 days. The topping will soften slightly but still tastes great.
Freezer: Scoop individual portions into freezer-safe containers and freeze for up to 2 months. Thaw overnight in the fridge.
Reheating: Microwave individual portions for 60-90 seconds, or reheat the whole dish (covered with foil) at 300°F for about 20 minutes. Add a splash of water if the filling looks dry before reheating.
FAQ
Can I use fresh apples instead of canned pie filling? Yes! Peel and slice 4-5 medium apples (Granny Smith or Honeycrisp are ideal). Toss with ½ cup granulated sugar, 2 tablespoons cornstarch, 1 teaspoon cinnamon, and a pinch of nutmeg. The texture will be slightly less soft than canned, but the flavor is wonderful.
My topping came out with dry, powdery spots. What happened? The butter didn’t cover those areas. Next time, slice the butter thinner and lay the pieces closer together. You can also melt 2 tablespoons of extra butter and drizzle it over any obvious dry spots before baking.
Can I make this in a slow cooker? You can! Layer everything in a greased slow cooker, cook on HIGH for 2-3 hours or LOW for 4-5 hours. The topping won’t be as crispy, but it’ll still be delicious.
What kind of apples work best if I’m making my own filling? Granny Smith apples hold their shape well and give a nice tart contrast to the sweet cake mix. Honeycrisp and Fuji are sweeter and softer. A mix of both is ideal.
Do I have to use unsalted butter? Salted butter works just fine. It actually adds a subtle extra layer of flavor. Just know that the overall dish will be slightly saltier, which most people don’t mind at all.
Can I double the recipe? Yes, just use two 9×13 pans or one very large roasting pan. Baking time stays roughly the same.
Wrapping Up
This is the dessert you make when you want something that genuinely tastes homemade but you have zero interest in spending an hour in the kitchen.
It’s warm, it’s cozy, it smells incredible, and every single person who tries it will ask for the recipe. When you tell them it took five minutes to assemble, they won’t believe you.
Give it a try this week and come back to leave a comment below. I’d love to know how it turned out, what variations you tried, and which topping you went with (vanilla ice cream is the right answer, just saying 🍏).