You know that feeling when you bite into a Crumbl cookie and your eyes basically roll back in your head?
That thick, almost cake-like texture. That gooey center that’s still warm. The way the edges are just slightly crispy while the middle melts on your tongue.
I’ve been there. I’ve stood in line. I’ve paid $4+ per cookie. And honestly? It’s worth it sometimes.
But here’s the thing: you can make these at home. And once you nail the technique, they taste just as good (maybe better) than the ones from the store. Plus, you can make them whenever the craving hits without leaving your house or checking what flavors are available this week.
I spent weeks testing this recipe to get it just right. The key is in the technique and a few specific ratios that create that signature Crumbl texture. So let’s get into it.
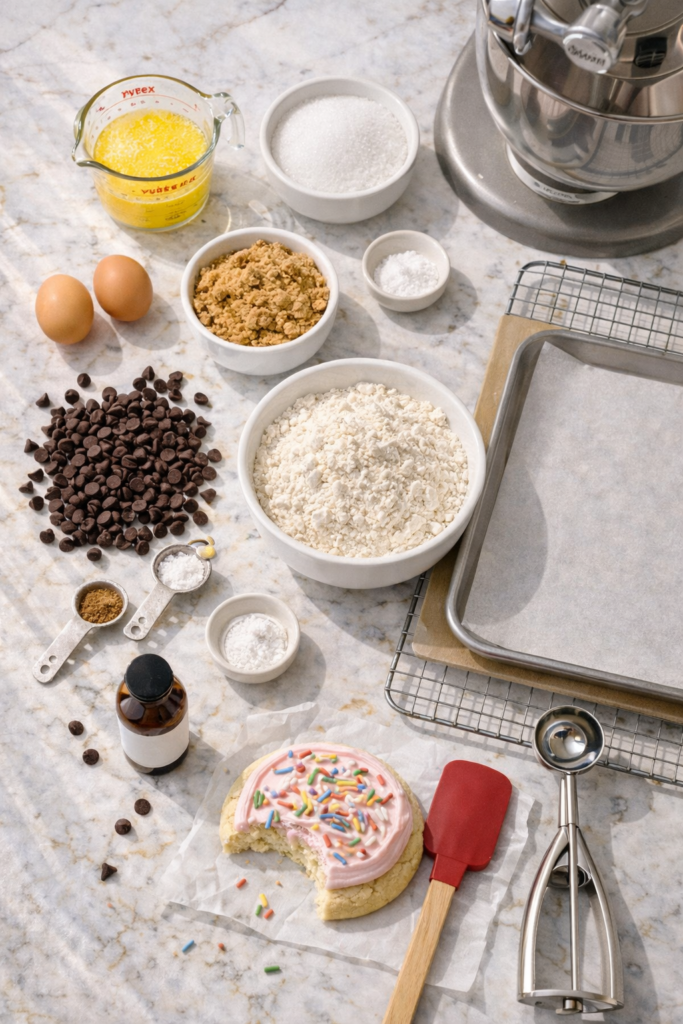
What You’ll Need
For the Base Cookie Dough:
- 1 cup (226g) unsalted butter, melted and slightly cooled
- 1 cup (200g) granulated sugar
- 3/4 cup (165g) light brown sugar, packed
- 2 large eggs, room temperature
- 2 teaspoons vanilla extract
- 3 cups (375g) all-purpose flour
- 1 teaspoon baking soda
- 1 teaspoon baking powder
- 1 teaspoon cornstarch
- 1 teaspoon salt
- 1 1/2 cups (270g) chocolate chips (semi-sweet or milk chocolate)
For the Pink Sugar Cookie Variation:
- 1/2 cup (113g) unsalted butter, softened
- 3/4 cup (150g) granulated sugar
- 1 large egg
- 1 teaspoon vanilla extract
- 1 teaspoon almond extract
- 1 1/2 cups (188g) all-purpose flour
- 1/2 teaspoon baking powder
- 1/4 teaspoon salt
- Pink gel food coloring
- 1/2 cup (60g) powdered sugar (for rolling)
For the Cream Cheese Frosting (optional but amazing):
- 4 oz (113g) cream cheese, softened
- 2 tablespoons butter, softened
- 1 cup (120g) powdered sugar
- 1/2 teaspoon vanilla extract
- Pinch of salt
Pro Tips
Chill the dough for at least 2 hours. I know waiting sucks, but this is what creates that thick, towering cookie instead of a flat pancake. The cold dough spreads less in the oven.
Use a kitchen scale. Seriously. Baking is chemistry, and measuring by weight gives you consistent results every time. Those cup measurements can vary wildly depending on how you scoop.
Don’t overbake. These cookies look underdone when you pull them out, and that’s exactly what you want. They’ll continue cooking on the hot pan for another 5 minutes. If they look fully baked in the oven, they’ll be dry when they cool.
Room temperature eggs matter. Cold eggs can cause the melted butter to solidify in chunks, creating an uneven texture. Let them sit out for 30 minutes or place them in warm water for 5 minutes.
Invest in a large cookie scoop. A 3-tablespoon scoop (about 1.5 oz) gives you that signature Crumbl size. Using your hands creates uneven shapes that bake inconsistently.
Tools You’ll Need

- Stand mixer or hand mixer
- Kitchen scale (highly recommended)
- Large mixing bowls (at least 2)
- 3-tablespoon cookie scoop or ice cream scoop
- Baking sheets (2-3)
- Parchment paper or silicone baking mats
- Cooling racks
- Rubber spatula
- Measuring cups and spoons
Substitutions and Variations
Butter: You can use salted butter if that’s what you have, just reduce the added salt to 1/2 teaspoon.
Brown sugar: Dark brown sugar works too and adds a deeper molasses flavor. Or use all granulated sugar for a crisper cookie.
Chocolate chips: Swap for white chocolate chips, butterscotch chips, or even chopped candy bars. M&Ms and Reese’s pieces work great too.
Flour: For gluten-free, use a 1:1 gluten-free flour blend (the kind with xanthan gum already added). I’ve tested with Bob’s Red Mill and it works well.
Dairy-free: Use plant-based butter and dairy-free chocolate chips. The texture will be slightly different but still delicious.
Mix-ins: Add 1/2 cup of anything you want – crushed Oreos, pretzels, toffee bits, chopped nuts, or dried fruit.
Make Ahead Tips
The dough actually gets better with time. You can refrigerate it for up to 3 days or freeze it for 3 months.
For freezing: scoop the dough into balls, freeze them on a baking sheet until solid, then transfer to a freezer bag. Bake straight from frozen, just add 2-3 extra minutes to the baking time.
You can also bake the cookies and freeze them for up to 2 months. They reheat beautifully in the microwave for 15-20 seconds.
How to Make Crumbl Copycat Cookies
Step 1: Prep your space
Line your baking sheets with parchment paper and set them aside. Take your eggs out of the fridge to come to room temperature.
Step 2: Mix the wet ingredients
In a large bowl, whisk together the melted butter, granulated sugar, and brown sugar until smooth. It should look glossy and well combined, about 1 minute.
Add the eggs and vanilla. Whisk until everything is fully incorporated and slightly fluffy, another minute or so.
Step 3: Combine the dry ingredients
In a separate bowl, whisk together the flour, baking soda, baking powder, cornstarch, and salt. The cornstarch is secret ingredient number one – it makes the cookies extra tender.
Step 4: Bring it together
Pour the dry ingredients into the wet ingredients. Use a rubber spatula to fold everything together. Mix just until you don’t see any dry flour streaks. Don’t overmix or your cookies will be tough.
Fold in the chocolate chips.
Step 5: Chill the dough
Cover the bowl with plastic wrap and refrigerate for at least 2 hours. Overnight is even better. This step is not optional if you want thick cookies.
Step 6: Preheat and portion
When you’re ready to bake, preheat your oven to 350°F (175°C). Let the dough sit at room temperature for 5-10 minutes so it’s easier to scoop.
Use your large cookie scoop to portion out the dough onto your prepared baking sheets. Leave about 3 inches between each cookie – they spread quite a bit.
Step 7: Bake
Bake for 11-13 minutes. The edges should be set and slightly golden, but the centers will look pale and underdone. You might see a little jiggle in the middle.
This is exactly what you want. Trust the process.
Step 8: Cool and finish
Let the cookies sit on the hot baking sheet for 10 minutes. They’ll continue to cook and set up during this time.
Transfer to a cooling rack. If you want to add frosting, wait until they’re completely cool.
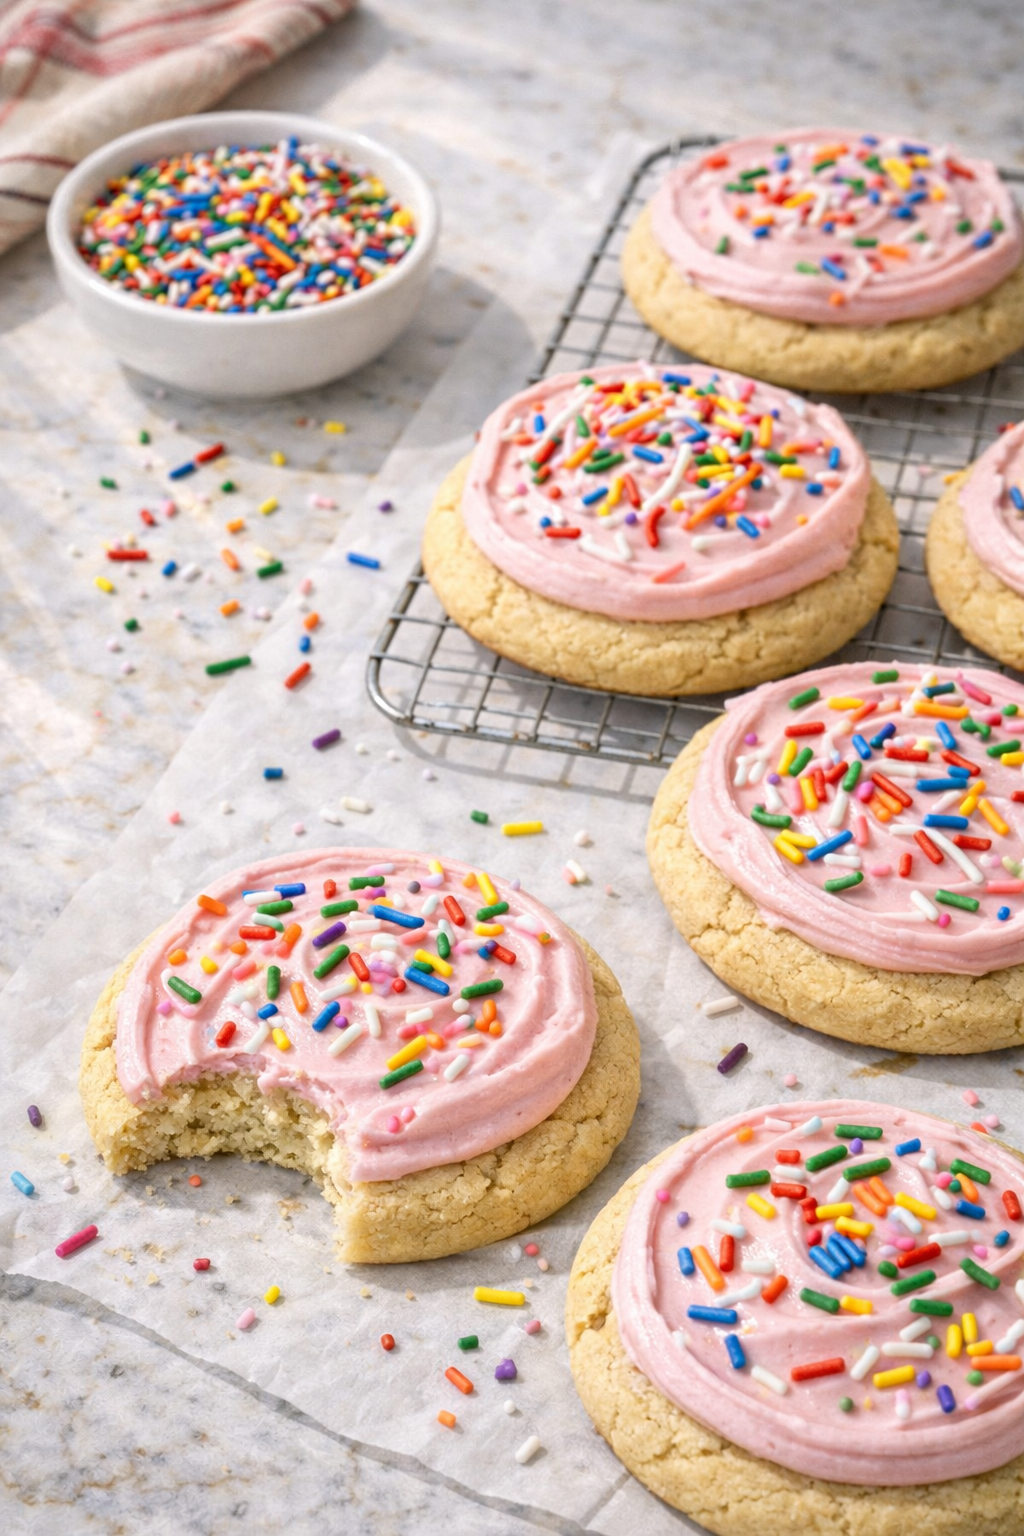
Pink Sugar Cookie Variation
Step 1: Cream the softened butter and sugar together until light and fluffy, about 3 minutes.
Step 2: Beat in the egg, vanilla extract, and almond extract. Add 3-4 drops of pink gel food coloring and mix until evenly colored.
Step 3: In a separate bowl, whisk together the flour, baking powder, and salt.
Step 4: Add the dry ingredients to the wet ingredients and mix until just combined.
Step 5: Chill the dough for 1 hour.
Step 6: Roll the dough into balls using your cookie scoop, then roll each ball in powdered sugar until completely coated.
Step 7: Bake at 350°F for 10-12 minutes. The cookies should still be soft in the center.
Step 8: Let cool completely before adding frosting if desired.
Making the Cream Cheese Frosting
Beat the softened cream cheese and butter together until smooth and creamy, about 2 minutes.
Add the powdered sugar, vanilla, and salt. Beat on low speed until combined, then increase to high speed and beat for another 2 minutes until light and fluffy.
If it’s too thick, add a teaspoon of milk. If it’s too thin, add more powdered sugar.
Spread or pipe onto completely cooled cookies.
Nutritional Information (Per Cookie)
- Calories: 280
- Fat: 14g
- Saturated Fat: 9g
- Carbohydrates: 37g
- Sugar: 23g
- Protein: 3g
- Sodium: 180mg
Note: This is for the chocolate chip version without frosting. Pink sugar cookies with frosting will be slightly higher in calories.
Leftovers and Storage
These cookies stay fresh at room temperature in an airtight container for 3-4 days. If you live somewhere humid, they might get softer faster.
For longer storage, refrigerate them for up to a week. They get a little firmer when cold, but 10 seconds in the microwave brings them back to life.
You can also freeze baked cookies for up to 2 months. Layer them between parchment paper in a freezer-safe container. Thaw at room temperature or warm them straight from frozen.
Pro tip: these cookies taste amazing cold straight from the fridge. That chewy, dense texture is 👨🍳💋.
FAQ
Why are my cookies flat?
You either didn’t chill the dough long enough, your oven temperature is too low, or you overmixed the dough. Also check that your baking soda and powder are fresh – they lose potency over time.
Can I use regular food coloring instead of gel?
You can, but you’ll need a lot more to get that vibrant pink color, and the extra liquid can throw off the dough consistency. Gel food coloring is more concentrated and doesn’t add moisture.
Do I really need cornstarch?
Yes. It’s what makes these cookies tender instead of tough. Cornstarch inhibits gluten formation, which creates that melt-in-your-mouth texture.
My cookies spread too much. What happened?
Your butter might have been too warm, you didn’t chill the dough long enough, or your baking sheets were still hot from a previous batch. Always use cool baking sheets and make sure your dough is thoroughly chilled.
Can I make these smaller?
Sure, but then they won’t be Crumbl copycat cookies – part of their appeal is the massive size. If you do make them smaller, reduce the baking time by 2-3 minutes.
How do I get that bakery-style look?
While the cookies are still warm (right after that 10-minute rest on the pan), use a large round cookie cutter or glass to gently swirl around the edges. This creates a perfect circle. You can also press extra chocolate chips on top right when they come out of the oven.
Why do some Crumbl cookies come chilled?
Crumbl chills certain flavors (especially ones with frosting) because it helps the frosting set and gives the cookie a different texture. Try chilling your frosted cookies for that authentic experience.
Wrapping Up
These cookies are absolutely worth the effort. That moment when you bite into a thick, gooey cookie you made yourself is pretty unbeatable.
The best part (besides eating them) is that you can customize these endlessly. Once you nail the base recipe, you can experiment with any flavor combination you want. Brownie batter. Cookies and cream. Peanut butter. Literally anything.
Make a batch this weekend and let me know how it goes. What flavor are you going to try first? Drop a comment below – I love hearing about your baking adventures and any tweaks you make to the recipe.