Lemon bars are criminally underrated.
You know what I mean. They’re always sitting there at potlucks, getting passed over for brownies and cookies, like they’re some boring afterthought dessert.
But when they’re done right? They’re absolutely incredible.
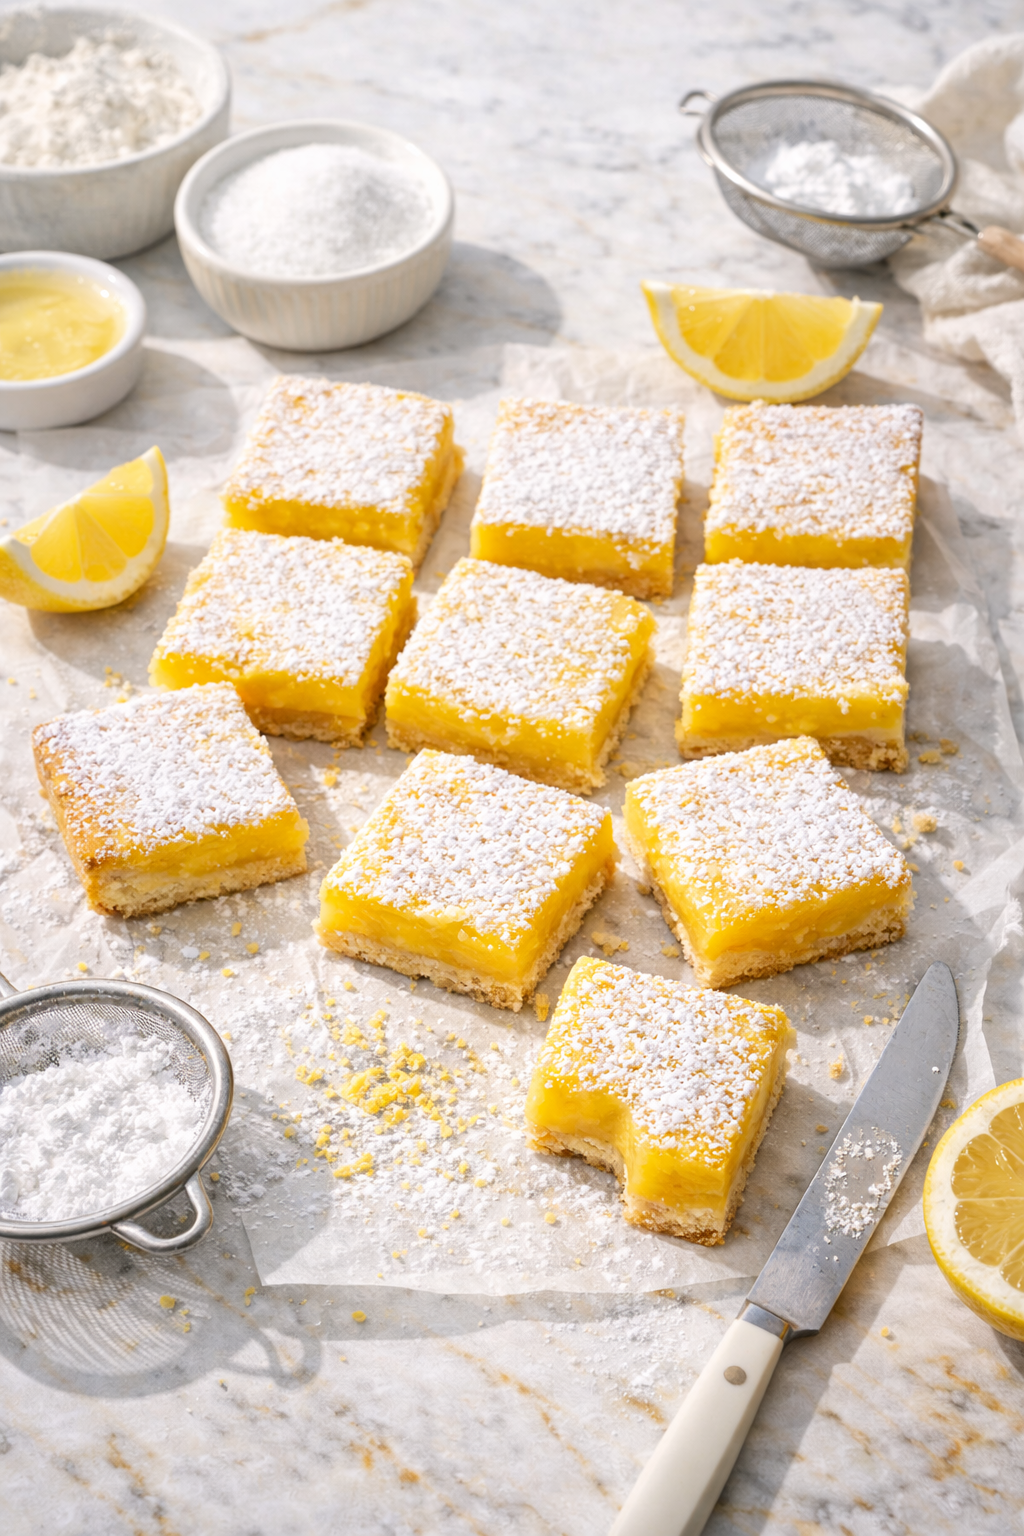
I’m talking about that perfect balance of tart and sweet, a buttery shortbread crust that doesn’t crumble into a million pieces, and a lemon layer that’s custardy without being weird or eggy. This is the version that’ll have people asking for the recipe before they’ve even finished their first piece.
And here’s the thing: they’re way easier to make than you think. No fancy equipment, no complicated techniques, just solid ingredients and a little bit of patience.
Let’s get into it.
What You’ll Need
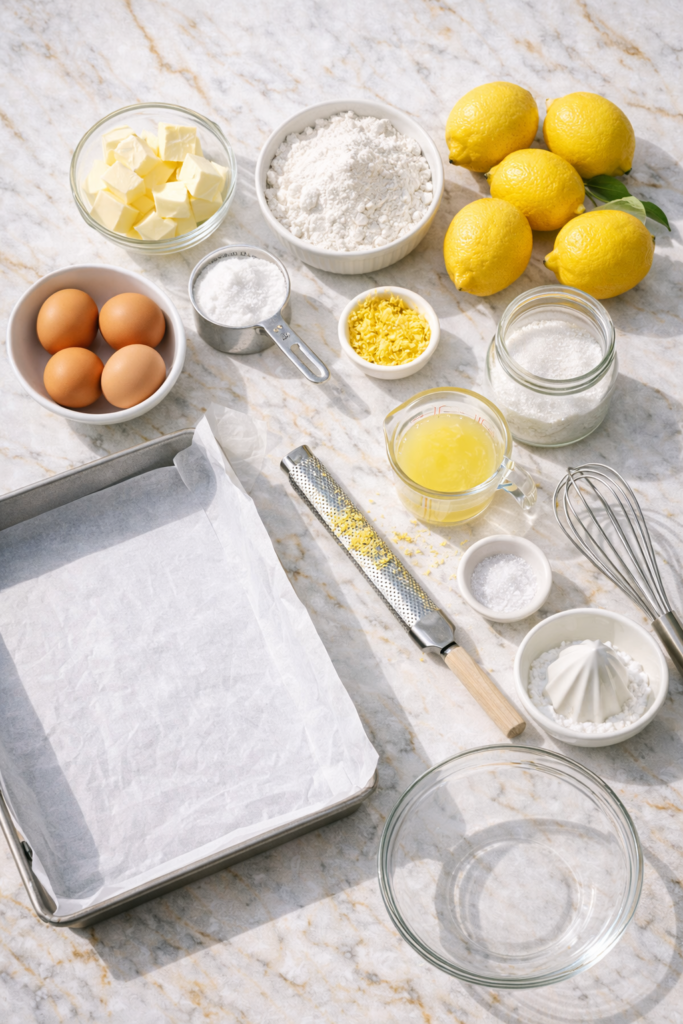
For the Shortbread Crust:
- 1 cup (226g) unsalted butter, softened
- 1/2 cup (60g) powdered sugar
- 2 cups (240g) all-purpose flour
- 1/4 teaspoon salt
For the Lemon Filling:
- 4 large eggs
- 1 1/2 cups (300g) granulated sugar
- 1/3 cup (40g) all-purpose flour
- 2/3 cup (160ml) fresh lemon juice (about 4-5 lemons)
- 1 tablespoon lemon zest
- Pinch of salt
For Topping:
- Powdered sugar for dusting
Pro Tips
These are the things I wish someone had told me the first time I made lemon bars:
Get your lemons to room temperature first. Cold lemons don’t give up their juice as easily. Roll them firmly on the counter before cutting them open and you’ll get way more juice out of each one.
Don’t skip the pre-bake on the crust. I know, I know, it feels like an extra step you don’t need. But if you pour that lemon filling onto a raw crust, you’re going to end up with a soggy bottom layer that never quite sets right. Trust me on this.
Line your pan with parchment paper. And here’s the trick: leave some overhang on the sides. This makes it so much easier to lift the whole thing out of the pan once it’s cooled. You can cut clean squares instead of wrestling with a spatula and ending up with mangled pieces.
Let them cool completely before cutting. I know this is the hardest part because they smell amazing and you just want to dive in. But if you cut them while they’re warm, the filling will ooze everywhere and you’ll lose that perfect clean edge. Patience pays off here.
Tools You’ll Need
- 9×13 inch baking pan
- Parchment paper
- Mixing bowls (2)
- Whisk
- Microplane or zester
- Citrus juicer (or just your hands and a fork)
- Measuring cups and spoons
- Electric mixer or wooden spoon
Substitutions and Variations
Gluten-free? You can swap the all-purpose flour for a 1:1 gluten-free baking blend. The texture will be slightly different but still good.
Want to dial down the tartness? Add an extra 1/4 cup of sugar to the lemon filling. Some people like their lemon bars to make their face pucker, others want them more on the sweet side.
Lime bars instead? Just swap out the lemon juice and zest for lime. The ratio stays the same. Key limes work great if you can find them.
Add some flavor. A teaspoon of vanilla extract in the filling adds a nice depth. Or try adding a tablespoon of fresh thyme leaves to the crust for something a little different.
Make them fancy. Top with fresh berries before serving, or add a thin layer of raspberry jam between the crust and filling.
Make Ahead Tips
The crust can be made a day ahead. Just wrap it tightly and keep it in the fridge until you’re ready to add the filling.
You can also make the whole thing up to two days before you need it. They actually get better after sitting in the fridge for a day because the flavors have time to meld together.

How to Make Lemon Bars
Step 1: Prep your pan
Preheat your oven to 350°F (175°C). Line your 9×13 inch pan with parchment paper, making sure to leave a couple inches of overhang on two opposite sides. This is your ticket to easy removal later.
Step 2: Make the crust
In a large bowl, cream together the softened butter and powdered sugar until it’s light and fluffy. This takes about 2-3 minutes if you’re using an electric mixer, a bit longer by hand.
Add the flour and salt, then mix until everything just comes together. It should look like a soft dough, not crumbly.
Press this mixture evenly into the bottom of your prepared pan. Really pack it down so there are no gaps. Use the bottom of a glass or measuring cup to get it nice and flat.
Step 3: Pre-bake the crust
Pop the crust into your preheated oven and bake for 15-18 minutes. You want it to be lightly golden around the edges but still pale in the center.
Take it out and let it cool for about 10 minutes while you make the filling. Don’t turn off your oven.
Step 4: Make the lemon filling
In a medium bowl, whisk together the eggs and granulated sugar until they’re well combined and slightly frothy.
Add the flour, lemon juice, lemon zest, and a pinch of salt. Whisk until everything is smooth and there are no lumps of flour hanging around.
Step 5: Bake the bars
Pour the lemon filling over the warm crust. It should come almost to the top of the pan.
Carefully transfer the pan back to the oven. Bake for 20-25 minutes. The filling should be set but still have a slight jiggle in the center when you gently shake the pan.
Step 6: Cool and cut
This is the hard part. Let the pan cool on a wire rack for at least an hour at room temperature. Then transfer it to the fridge for another hour (or up to overnight).
When you’re ready to serve, use the parchment paper overhang to lift the whole thing out of the pan. Place it on a cutting board.
Dust the top generously with powdered sugar. Then cut into squares using a sharp knife, wiping it clean between cuts for the cleanest edges.
Leftovers and Storage
Store your lemon bars in an airtight container in the fridge for up to 5 days. They’re actually better cold anyway, so this works out perfectly.
You can also freeze them for up to 3 months. Just wrap individual bars in plastic wrap, then place them all in a freezer bag. Thaw in the fridge overnight before eating.
Don’t dust them with powdered sugar until right before serving if you’re storing them, because the sugar will dissolve and look messy.
Additional Details
Nutritional Info (per bar, makes 16):
- Calories: 245
- Total Fat: 11g
- Carbohydrates: 35g
- Protein: 3g
- Sugar: 24g
Timing Breakdown:
- Prep time: 20 minutes
- Crust bake time: 15-18 minutes
- Filling bake time: 20-25 minutes
- Cooling time: 2+ hours
- Total time: About 3 hours (mostly hands-off)
Pairing Suggestions:
These lemon bars go incredibly well with:
- A cup of Earl Grey tea in the afternoon
- Fresh whipped cream for extra richness
- A scoop of vanilla ice cream if you want to turn them into dessert
- Fresh berries on the side for a pop of color
Dietary Modifications:
For dairy-free lemon bars, swap the butter in the crust for coconut oil (solid, not melted). The texture will be slightly different but still tasty.
For lower sugar, you can reduce the sugar in the filling by up to 1/4 cup, but they’ll be quite tart. Some people love that, others don’t.
FAQ
Why is my lemon filling grainy?
This usually happens when the eggs are overcooked. Make sure you’re not overbaking them and that your oven temperature is accurate. The filling should still have a slight jiggle when you take it out.
Can I use bottled lemon juice?
You can, but fresh is so much better. Bottled lemon juice has a slightly chemical aftertaste that you’ll notice in something this simple. If you’re making lemon bars, you might as well go all the way.
My crust is too hard. What did I do wrong?
You probably overbaked it. The crust should be pale golden, not brown. Also make sure you’re measuring your flour correctly (spoon it into the measuring cup, don’t pack it).
Can I make these in a different size pan?
Sure, but you’ll need to adjust the baking time. An 8×8 pan will give you thicker bars and need longer baking time (about 5-10 minutes more). A larger pan will give you thinner bars and need less time.
How do I know when they’re done?
The edges should be set and very lightly golden. The center should still jiggle slightly when you gently shake the pan. It will continue to set as it cools.
Can I make these with Meyer lemons?
Absolutely. Meyer lemons are sweeter and less tart than regular lemons, so your bars will have a more mellow flavor. Some people prefer it that way.
Wrapping Up
These lemon bars are the kind of dessert that makes you look like you really know what you’re doing in the kitchen, even though they’re actually pretty straightforward to make.
The combination of that buttery, crumbly shortbread base and the smooth, tangy lemon topping is just right. Not too sweet, not too sour, just balanced in a way that makes you want another piece.
They’re great for bringing to gatherings (they travel well), serving at brunch, or just keeping in your fridge for when you want something a little special with your afternoon coffee.
Once you nail this recipe, you’ll probably find yourself making them on repeat.
Have you made lemon bars before? Drop a comment below and let me know how yours turned out, or if you have any questions about the recipe. I’d love to hear from you.