You know those mornings when regular pancakes just don’t cut it?
I’m talking about the kind of breakfast that makes you actually want to wake up early. The kind that feels a little fancy but doesn’t require you to be a professional chef.
That’s exactly what these Japanese soufflé pancakes are.
I first tried these in a tiny café in Tokyo’s Harajuku district. The chef was flipping these impossibly tall, jiggly pancakes, and I was completely mesmerized. They were nothing like the flat, dense pancakes I grew up with.
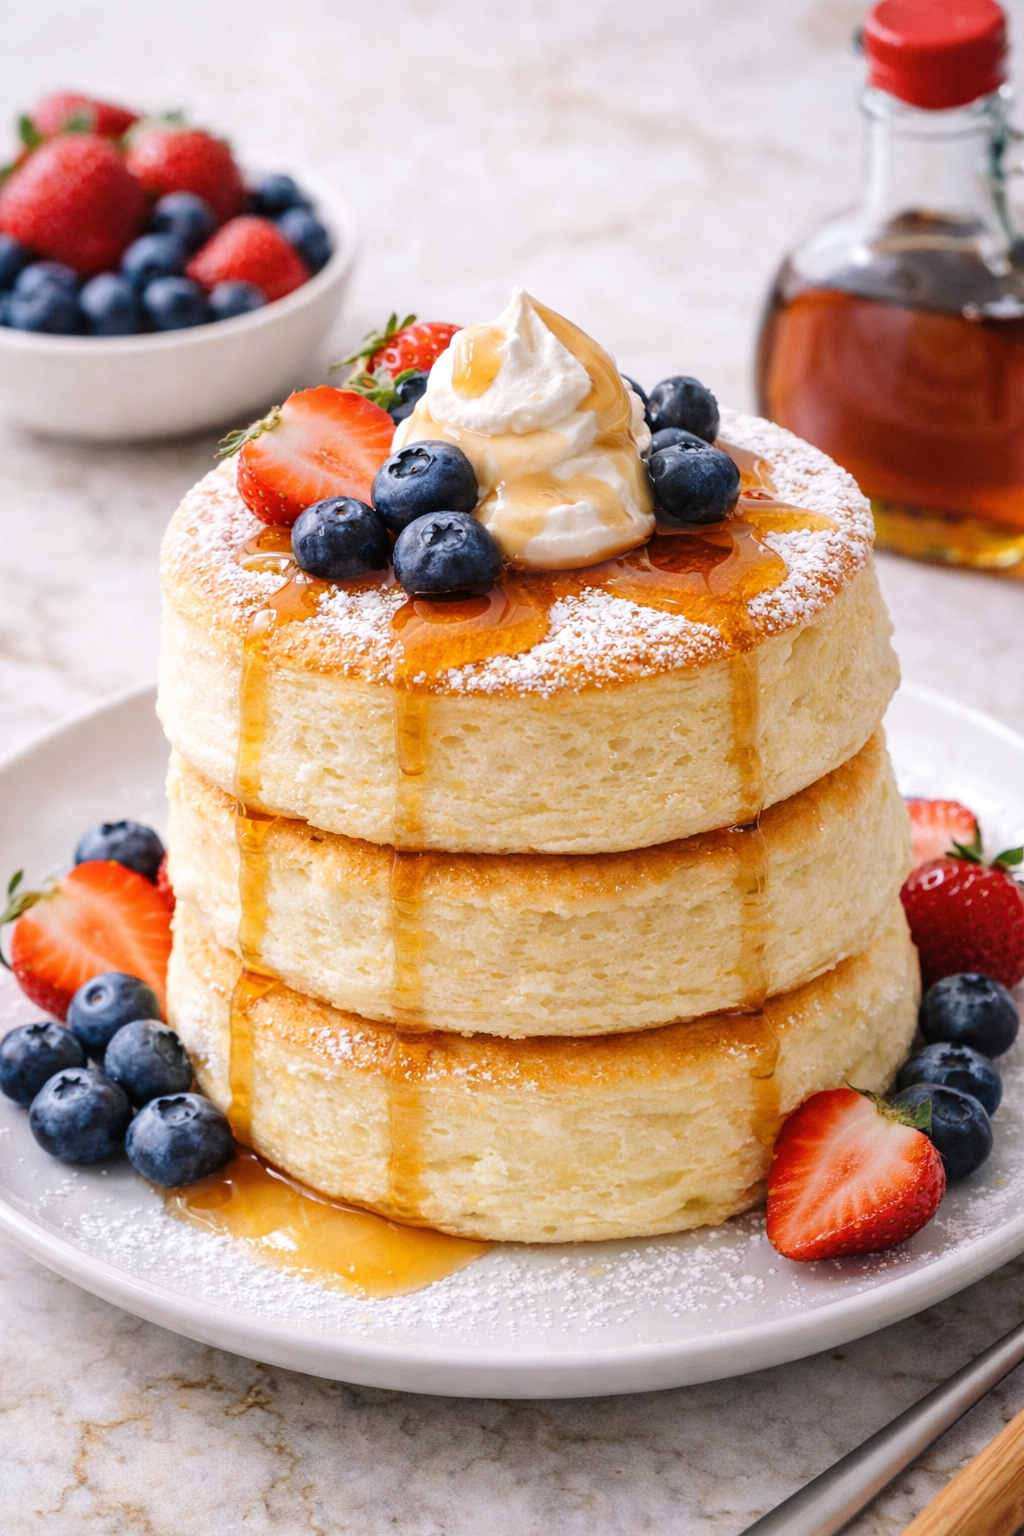
These are tall. We’re talking 2-3 inches of cloudlike fluff.
And here’s the thing: they’re surprisingly easy to make at home. You don’t need any fancy equipment (though a few ring molds help), and the ingredients are probably already sitting in your kitchen right now.
The secret? Whipped egg whites. That’s literally it.
You separate your eggs, whip the whites until they’re fluffy and stiff, then gently fold them into your batter. The result is a pancake that’s so light and airy, it practically melts on your tongue.
I’ve been making these every weekend for the past month, and my husband has officially declared them his new favorite breakfast. They’re that good.
So if you’re tired of the same old breakfast routine, or if you just want to feel like you’re eating at a fancy Japanese café without leaving your house, these pancakes are about to become your new obsession.
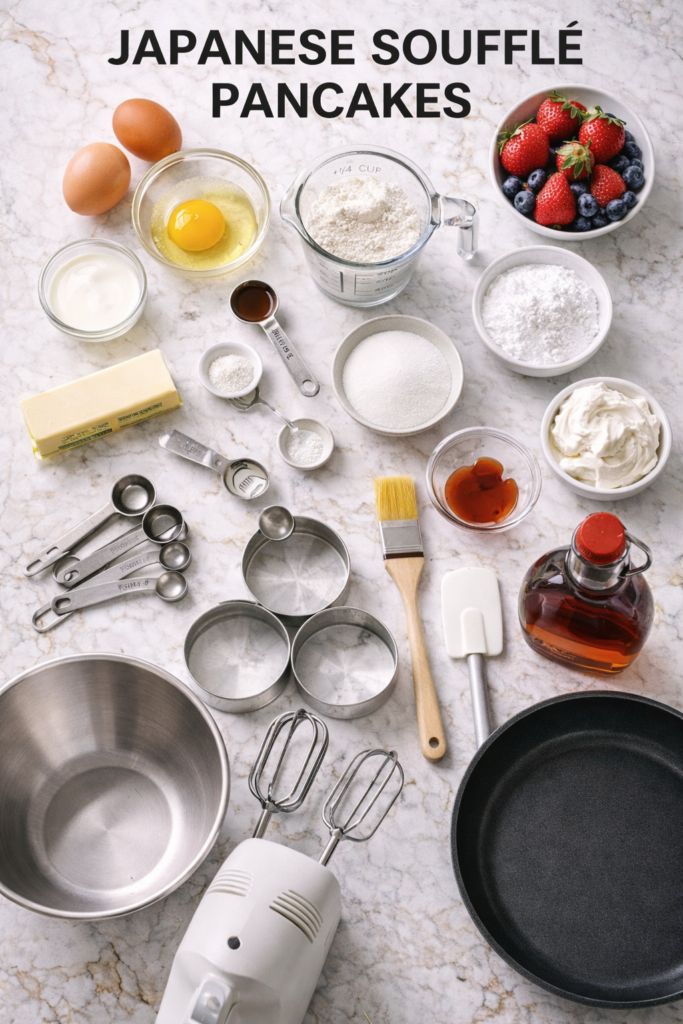
What You’ll Need
For the Pancakes:
- 2 large eggs (room temperature)
- 3 tablespoons whole milk
- 1/4 teaspoon vanilla extract
- 1/4 cup all-purpose flour
- 1/4 teaspoon baking powder
- 2 tablespoons granulated sugar
- Pinch of cream of tartar (or 1/4 teaspoon lemon juice)
- Butter for cooking
For Serving:
- Maple syrup
- Fresh berries (strawberries, blueberries, raspberries)
- Powdered sugar for dusting
- Whipped cream (optional but recommended)
Tools You’ll Need:
The right tools make this recipe so much easier. Here’s what I use every time:
- Electric hand mixer or stand mixer (this is pretty much essential for getting those egg whites fluffy enough)
- 3-4 metal ring molds (3-inch diameter) or clean, empty tuna cans with both ends removed
- Rubber spatula for gentle folding
- Large non-stick skillet or griddle
- Small bowl for separating eggs
- Medium mixing bowl
- Measuring cups and spoons
- Pastry brush (for buttering the rings)
Pro Tips
1. Room temperature eggs are non-negotiable
Cold eggs won’t whip up as nicely. I take mine out of the fridge about 30 minutes before I start cooking. If you forget, just place them in a bowl of warm (not hot) water for 5 minutes.
2. Your egg whites need to be perfectly clean
Even the tiniest bit of yolk will prevent your egg whites from reaching their full fluffy potential. When I’m separating eggs, I use three bowls: one for whites, one for yolks, and one “safety bowl” where I crack each egg individually before adding it to the main bowl. This way, if I accidentally break a yolk, I haven’t ruined the whole batch.
3. Low and slow is the way to go
These aren’t regular pancakes. You’re cooking them on super low heat with a lid on. I know it feels weird to cook pancakes covered, but trust me on this. The steam helps them cook through without burning the bottom.
4. Don’t skip the ring molds
I tried making these without molds once and ended up with sad, flat pancakes that spread everywhere. The molds keep everything contained and help them rise tall. You can buy silicone ones online for cheap, or just use clean tuna cans with both ends cut off.
5. Fold, don’t stir
When you’re combining the egg whites with the batter, you want to fold gently from the bottom up. Stirring will knock out all that air you just spent time whipping in. Think of it like you’re tucking the egg whites into bed, not mixing paint.

Substitutions and Variations
Dietary Swaps:
Gluten-free: Swap the all-purpose flour for a 1:1 gluten-free baking flour. I’ve tested this with Bob’s Red Mill and it works great.
Dairy-free: Use your favorite non-dairy milk. Oat milk works best here because it’s naturally creamy. For the butter, use coconut oil or vegan butter.
Lower sugar: You can cut the sugar down to 1 tablespoon if you’re planning to serve these with sweet toppings. They’ll still be good, just less sweet on their own.
Flavor Variations:
Matcha: Add 1 teaspoon of matcha powder to the flour mixture. These turn the most beautiful green color and taste amazing with red bean paste.
Lemon: Add 1/2 teaspoon of lemon zest to the batter and serve with fresh lemon curd.
Chocolate: Mix in 1 tablespoon of cocoa powder with the flour. Top with Nutella and sliced bananas.
Cinnamon: Add 1/2 teaspoon of cinnamon to the flour mixture. Perfect for fall mornings.
How to Make Japanese Soufflé Pancakes
Step 1: Prep your station
Before you do anything else, get your ring molds ready. Brush the insides with butter so the pancakes won’t stick. Place them on your skillet (not heated yet) so you know they’ll fit.
This is also a good time to separate your eggs. Remember what I said about that safety bowl? Use it.
Step 2: Make the base batter
In a medium bowl, whisk together the egg yolks, milk, and vanilla until smooth. Then add your flour and baking powder. Whisk until just combined.
Don’t overmix here. A few small lumps are totally fine.
Step 3: Whip those egg whites
This is where the magic happens.
Add your egg whites to a clean, dry bowl. Start beating on medium speed until they get foamy. Add the cream of tartar (this helps stabilize them), then gradually add the sugar while continuing to beat.
Keep going until you have stiff peaks. When you lift the beaters, the peaks should stand straight up without drooping. This usually takes about 3-4 minutes.
If you under-whip them, your pancakes won’t rise as much. If you over-whip them, they’ll get grainy and be harder to fold in. You’re looking for that sweet spot where they’re glossy, white, and hold their shape.
Step 4: Fold it together
Add about 1/3 of the whipped egg whites to your batter. Fold gently with a rubber spatula, using a motion that goes down the side of the bowl, across the bottom, and up through the middle.
Once that’s incorporated, add the rest of the egg whites and fold until just combined. You should still see a few white streaks. That’s perfect.
Step 5: Start cooking
Place your buttered ring molds on your non-stick skillet. Heat the skillet over the lowest heat setting. Seriously, the lowest.
Wait about 2 minutes for the pan to warm up. You don’t want it too hot.
Step 6: Fill the molds
Spoon or pour the batter into each ring mold, filling them about 2/3 full. They’ll rise as they cook, so don’t overfill.
Add 1 tablespoon of water to the pan (not in the molds, just on the pan surface), and immediately cover with a lid.
Step 7: Cook low and slow
Cook for 6-7 minutes. Don’t peek. I know it’s tempting, but lifting that lid releases all the steam.
After 6-7 minutes, the tops should be starting to look set but still slightly jiggly.
Step 8: Flip time
This is the scariest part, but you can do it. Quickly flip each pancake (mold and all) using a wide spatula. Add another tablespoon of water to the pan and cover again.
Cook for another 5-6 minutes.
Step 9: Check for doneness
Gently slide the ring molds off. The pancakes should be golden brown on both sides and spring back when you touch them lightly.
If the centers still feel really jiggly, cover and cook for another minute or two.
Step 10: Serve immediately
These are best eaten right away while they’re still puffy and warm. Stack them up, dust with powdered sugar, add your toppings, and dig in.
Leftovers and Storage
I’ll be honest: these are definitely best fresh.
But if you have leftovers (which is rare in my house), you can store them in an airtight container in the fridge for up to 2 days. They’ll deflate a bit, but they still taste good.
To reheat: Place them in a toaster oven at 300°F for about 5 minutes. Don’t microwave them unless you want sad, rubbery pancakes.
Can you freeze them? Technically yes, but I don’t recommend it. They lose that amazing fluffy texture.
Make-ahead tip: You can measure out all your dry ingredients the night before and have your eggs at room temperature and ready to go. That’s about as make-ahead as these get since the egg whites need to be whipped fresh.
Frequently Asked Questions
Why didn’t my pancakes rise?
This usually comes down to three things: your egg whites weren’t whipped enough, you deflated them while folding, or your heat was too high. Make sure those egg whites have stiff peaks before folding, and be super gentle when combining everything.
Can I make these without ring molds?
You can, but they won’t be as tall and impressive. If you’re in a pinch, try using a piping bag to pipe tall mounds of batter directly onto the pan. It’s not as reliable, but it can work.
How many pancakes does this recipe make?
This recipe makes about 3-4 pancakes, depending on the size of your molds. It’s enough for 2 people. If you want more, just double the recipe.
Why are my pancakes cooking unevenly?
Your heat is probably too high. These need to cook on the absolute lowest setting. Also, make sure you’re covering the pan with a lid to trap the steam.
Can I add mix-ins like chocolate chips or blueberries?
I wouldn’t. The batter is too delicate and adding mix-ins can weigh it down. Save those for toppings instead.
Do I really need cream of tartar?
It helps stabilize the egg whites, but if you don’t have it, you can use 1/4 teaspoon of lemon juice instead. In a pinch, you can skip it entirely, but your peaks might not be quite as stable.
My pancakes are browning too fast on the bottom
Your heat is too high. Turn it down even lower. These need patience.
Wrapping Up
I’ll say it again: these pancakes are so worth the extra effort.
Yes, they take a little more time than throwing some Bisquick in a bowl. Yes, you have to actually pay attention while cooking them. But the payoff is a breakfast that makes you feel like you’re treating yourself to something special.
They’re the kind of breakfast that turns an ordinary Sunday into something you look forward to all week.
Plus, once you make them once or twice, they become second nature. I can now whip these up in about 20 minutes from start to finish.
So grab your eggs, find some ring molds (or order them right now), and give these a try this weekend. Your mornings are about to get so much better.
And when you do make them? Come back and tell me how it went. Did they turn out fluffy? Did you try any fun flavor variations? I’m always curious to hear what people think about recipes, especially when they’re trying them for the first time.
Drop a comment below 👇