There’s a Thai restaurant you keep going back to.
Not because it’s the closest one. Not because it’s the cheapest. Because that red curry is different and you can’t quite figure out why.
The sauce is silky. The heat builds slowly instead of punching you in the face. The chicken is somehow tender and the whole thing comes together in a way that feels almost too good for a Tuesday.
Here’s the thing: that sauce is not complicated. You’re about to make it at home in 35 minutes, and it’s going to be better than you expect.
Keep reading through the Pro Tips. There’s one in there about coconut milk that most people get completely wrong, and it’s exactly why homemade red curry often falls flat.
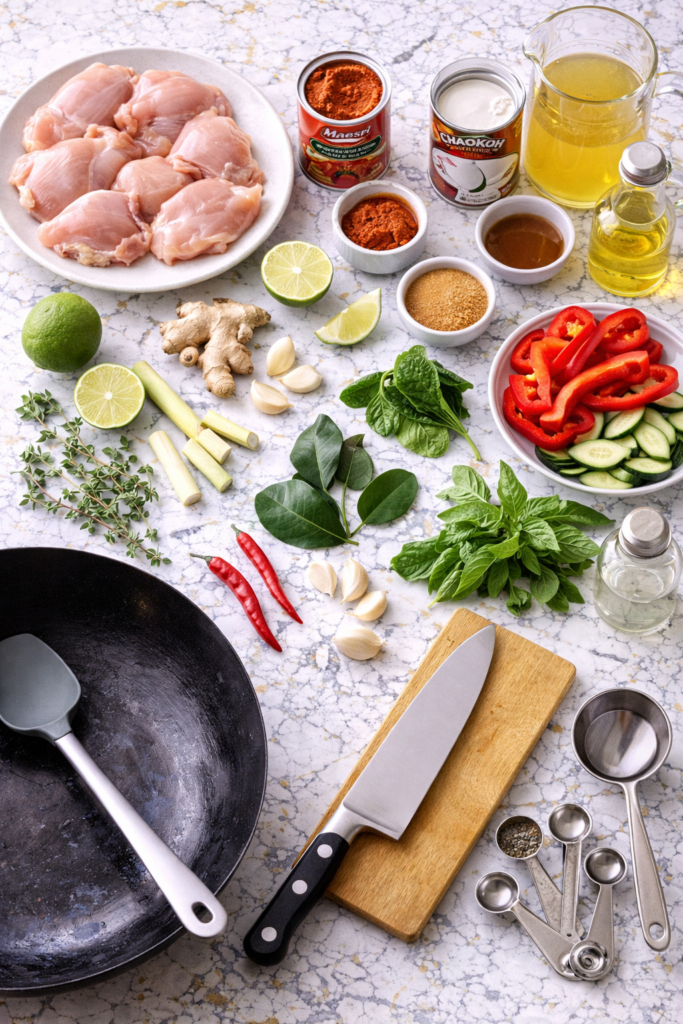
What You’ll Need
For the Chicken Marinade:
- 1.5 lbs (680g) boneless, skinless chicken thighs, cut into 1.5-inch pieces
- 1 tbsp red curry paste
- 1 tbsp fish sauce
- 1 tsp coconut sugar (or brown sugar)
- 1 tsp lime zest
- 1 tbsp coconut oil
For the Curry Sauce:
- 1 tbsp coconut oil
- 3 tbsp red curry paste (Mae Ploy or Maesri brand preferred)
- 1 can (13.5 oz) full-fat coconut milk, do not shake the can
- 1/2 cup (120ml) chicken broth
- 1 tbsp fish sauce
- 1 tbsp coconut sugar (or palm sugar)
- 4 kaffir lime leaves, torn (or 1 tsp lime zest as a backup)
- 2 stalks lemongrass, bruised and cut into 2-inch pieces
- 1 tbsp fresh ginger, grated
- 4 garlic cloves, minced
- 1 medium red bell pepper, sliced into thin strips
- 1 medium zucchini, sliced into half moons
- 1 cup (90g) baby spinach or Thai basil leaves
- 1 tbsp fresh lime juice
- Cooked jasmine rice, to serve
- Fresh Thai basil and sliced red chili, to garnish
Tools You’ll Need
- Large wok or deep skillet (12-inch minimum)
- Wooden spoon or silicone spatula
- Sharp chef’s knife
- Cutting board
- Microplane or grater (for ginger and lime zest)
- Measuring spoons and cups
- Can opener
- Ladle (for serving)
Pro Tips
These are the moves that turn a good red curry into an actually great one.
1. Don’t shake the coconut milk can. This is the biggest secret in Thai cooking. Full-fat coconut milk naturally separates in the can, with thick cream floating on top and thin watery milk below. You want to open the can carefully and scoop that thick cream off the top first. That’s what you fry the curry paste in. It creates an almost sautéed, deeply fragrant base that you simply cannot build any other way.
2. Fry the curry paste, don’t just stir it in. Red curry paste needs heat and fat to bloom. Add the paste to the hot coconut cream and let it fry for 2 full minutes, stirring constantly, until the oil starts to separate and the paste turns deeply fragrant. It should smell like something completely different after 2 minutes. That moment is when the magic happens.
3. Use Mae Ploy or Maesri red curry paste. Most grocery store curry pastes are thin and sweet. Mae Ploy and Maesri are the brands actual Thai restaurants use. They’re spicier, more pungent, more fragrant, and the flavor is completely different. You can find them at any Asian grocery store or online. One can lasts for months in the fridge.
4. Add vegetables in stages. Dense vegetables like bell pepper go in early. Delicate ones like spinach or Thai basil go in right at the end. If you throw everything in together, some things overcook while others are still raw. Stagger them by texture.
5. Finish with lime juice off the heat. Lime juice added while the curry is still on the stove gets bitter from the heat. Take the pan off the burner, then squeeze your lime. The brightness stays sharp and clean instead of cooking off into nothing.
Substitutions and Variations
| Swap This | For This |
|---|---|
| Chicken thighs | Shrimp (cook in last 5 min), tofu, or chickpeas |
| Red curry paste | Green curry paste (brighter, more herbal) |
| Fish sauce | Soy sauce or tamari (for vegetarian version) |
| Zucchini | Eggplant, snap peas, or bamboo shoots |
| Kaffir lime leaves | 1 tsp lime zest (backup only, flavor differs) |
| Coconut sugar | Brown sugar or palm sugar |
| Baby spinach | Thai basil, broccolini, or bok choy |
Going vegetarian? Swap chicken for firm tofu (press it first) or chickpeas, replace fish sauce with soy sauce or coconut aminos, and use vegetable broth. Everything else stays the same.
Want it creamier? Use coconut cream instead of coconut milk. The sauce will be noticeably richer and thicker.
Want it spicier? Add 1 to 2 extra tablespoons of red curry paste, or drop in 2 to 3 fresh Thai bird’s eye chilies when you fry the paste.
Make Ahead Tips
Red curry is genuinely one of the best meal prep dishes you can make.
Marinade: Mix the chicken in the marinade up to 24 hours ahead and store covered in the fridge. The longer it sits, the better.
Full curry: Make the entire batch, cool completely, and store in an airtight container for up to 4 days. The flavor deepens significantly overnight as the lemongrass and kaffir lime continue to infuse.
Freezer: Freeze for up to 3 months. Thaw overnight in the fridge, reheat gently on the stovetop, and add a splash of coconut milk if the sauce has thickened too much.

Nutritional Breakdown
Approximate per serving (based on 4 servings, without rice):
| Nutrient | Per Serving |
|---|---|
| Calories | ~410 kcal |
| Protein | ~33g |
| Carbohydrates | ~14g |
| Fat | ~27g |
| Fiber | ~3g |
| Sodium | ~710mg |
Estimates only. Values vary based on curry paste brand, exact amounts, and added rice.
Diet Notes:
- Gluten-free: Yes, as written (verify fish sauce label)
- Dairy-free: Yes
- Paleo: Yes
- Whole30: Use compliant fish sauce, coconut milk, and curry paste (check labels carefully)
What to Pair It With:
- Jasmine rice (the classic Thai pairing)
- Coconut rice for extra richness
- Rice noodles if you want something different
- Roti or flatbread for scooping
- Crispy spring rolls or steamed dumplings as a starter
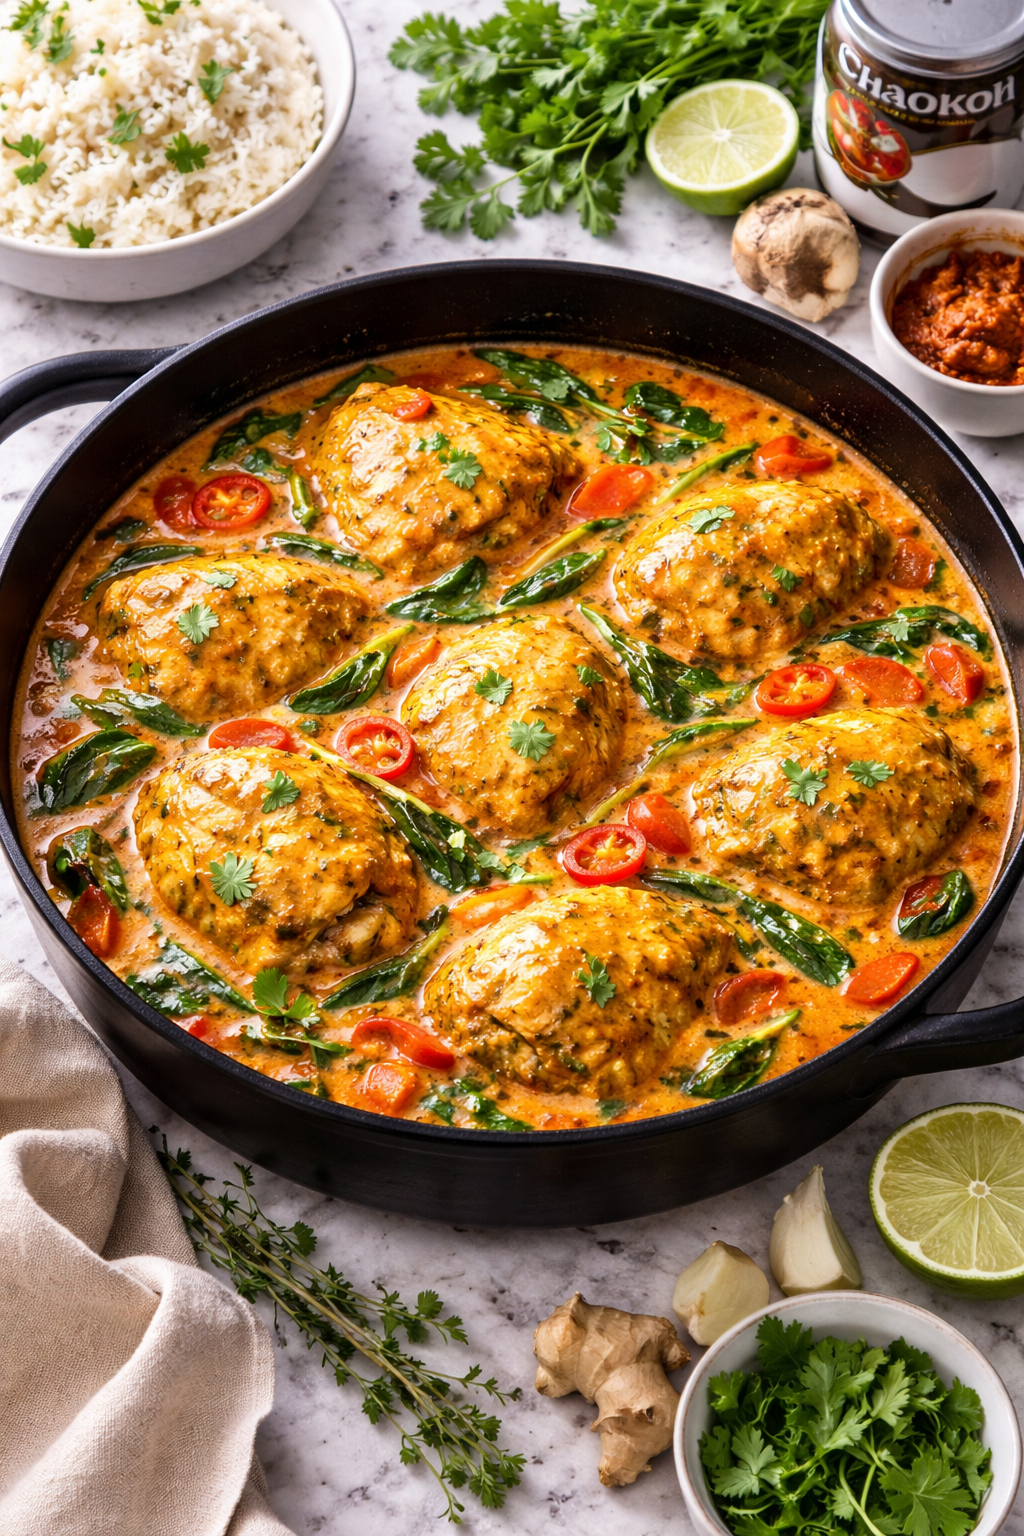
How to Make Red Curry Chicken
Step 1: Marinate the Chicken
Combine the chicken pieces with red curry paste, fish sauce, coconut sugar, lime zest, and coconut oil in a bowl.
Toss to coat evenly. Cover and refrigerate for at least 20 minutes, or up to 24 hours.
Step 2: Separate the Coconut Cream
Open the can of coconut milk without shaking it.
Carefully spoon off the thick cream from the top into a small bowl. Set aside the remaining thin coconut milk for later.
Step 3: Fry the Curry Paste
Heat 1 tablespoon of coconut oil in your wok over medium-high heat.
Add the thick coconut cream from the top of the can. Let it heat for 30 seconds until it begins to bubble gently.
Add the 3 tablespoons of red curry paste directly into the hot coconut cream.
Stir constantly and fry for 2 full minutes. The paste will deepen in color, the oil will start to separate around the edges, and the smell will shift from raw paste to something deeply fragrant and nutty. Don’t rush this step.
Step 4: Add Garlic, Ginger, and Aromatics
Add the minced garlic and grated ginger to the paste. Stir and cook for 60 seconds.
Add the bruised lemongrass pieces and torn kaffir lime leaves. Stir to combine.
Step 5: Cook the Chicken
Add the marinated chicken pieces to the wok in a single layer.
Cook for 3 to 4 minutes, turning occasionally, until the outside of the chicken has sealed and picked up color from the paste.
Step 6: Build the Sauce
Pour in the remaining thin coconut milk from the can and the chicken broth.
Add the fish sauce and coconut sugar. Stir everything together and bring to a gentle simmer.
Reduce heat to medium-low and cook uncovered for 12 to 15 minutes, stirring occasionally, until the chicken is cooked through and the sauce has reduced slightly.
Step 7: Add the Vegetables
Add the sliced red bell pepper and zucchini. Stir and cook for 4 to 5 minutes until just tender but still with a little bite.
Turn off the heat completely.
Step 8: Finish and Serve
Add the baby spinach or Thai basil and stir through until just wilted.
Squeeze fresh lime juice over the top, give it a final stir, and taste for seasoning. Adjust fish sauce or coconut sugar if needed.
Fish out the lemongrass pieces and kaffir lime leaves before serving.
Ladle over jasmine rice and garnish with fresh Thai basil and thinly sliced red chili.
Leftovers and Storage
Refrigerator: Store in an airtight container for up to 4 days. Reheat gently on the stovetop over medium-low heat. Add a splash of coconut milk or water to loosen the sauce as it will thicken in the fridge.
Freezer: Cool completely first, then freeze in individual portions for up to 3 months. Thaw overnight in the fridge before reheating.
Vegetables note: Spinach and zucchini don’t freeze particularly well. If you’re making a batch specifically for the freezer, hold the vegetables out, freeze the base curry with the chicken, and add fresh vegetables when you reheat it.
Rice tip: Always store rice and curry separately. Rice sitting in sauce overnight becomes waterlogged. Keep them apart and combine at serving time.
FAQ
What’s the difference between red, green, and yellow Thai curry? Red curry paste is made with dried red chilies, giving it that deep color and a bold, slightly smoky heat. Green curry uses fresh green chilies and is typically brighter and more herbaceous. Yellow curry uses turmeric and is the mildest and most subtly spiced of the three. Red falls in the middle for heat and has the richest, most robust flavor profile.
Can I use light coconut milk instead of full-fat? You can, but the sauce will be noticeably thinner and less creamy. Light coconut milk also doesn’t separate in the can, so you lose the ability to fry the paste in the thick coconut cream. Full-fat is the right call here.
My curry is too thin. How do I fix it? Simmer it uncovered on medium heat for a few more minutes and the sauce will reduce and concentrate. You can also stir in an extra tablespoon of red curry paste to thicken and intensify the flavor at the same time.
My curry is too thick. What do I do? Add a splash of coconut milk or chicken broth, stir, and warm through over low heat until it reaches the consistency you want.
Is Mae Ploy paste really that different from the grocery store brands? Yes, genuinely. Most supermarket curry pastes are formulated to be milder and sweeter for a broader audience. Mae Ploy and Maesri use traditional recipes with more shrimp paste, galangal, and chilies. The flavor difference is significant. If you’ve only ever used a generic brand and wondered why your homemade curry doesn’t taste like the restaurant version, the paste is almost always the answer.
Can I make this without lemongrass or kaffir lime leaves? Yes. They add a distinctly Thai citrus-floral note that’s hard to replicate exactly, but lime zest is a reasonable backup for both. Use 1 teaspoon of lime zest in place of the kaffir lime leaves and skip the lemongrass entirely if you can’t find it. The curry will still be very good, just slightly less authentic.
How do I know when the curry paste is properly fried? You’ll see the red oil start to visibly separate and pool around the edges of the paste in the wok. The color will deepen from bright red to a darker brick red, and the smell shifts from sharp and raw to rich and toasty. Those two signs together, the oil separation and the smell change, mean you’ve done it right.
Wrapping Up
Red curry chicken is the kind of recipe that makes you realize how much better home cooking can be when you know two or three key techniques.
Fry the paste. Use the coconut cream from the top of the can. Add lime off the heat. That’s it. Three moves and the whole dish transforms.
Make it this week and then drop a comment below. Tell me which curry paste brand you used, what vegetables you threw in, or how spicy you went with it.
All questions welcome too. 👇